
Editing campaigns
Campaigns are built to evolve. Start with the shared editing pattern, then retune rules, privacy, variables, and the posts your campaign collects.
How editing works
Almost everything you build in Socialpruf stays editable. Campaigns, goals, and reports are all created elsewhere; in Explore, on the Overview page, or from the share menu, but they all come back to Manage when it's time to change them. Start here with campaigns; the same workflow applies to goals and reports in the following lessons.
The pattern is the same everywhere
- Open the Manage page and pick the tab for what you're editing: Campaigns, Goals, or Reports.
- Click into the item to open its detail panel.
- Make your changes.
- Click Save in the footer. A confirmation dialog lists every change you made, old value to new value, before anything is committed.
The Save and Reset buttons only appear once you've actually changed something, so an open panel is always safe to browse. Reset discards your edits and puts the panel back to the saved version.
Pro tip: Read the change list in the save dialog before confirming. It's the fastest way to catch an accidental edit, like a date you nudged while scrolling, before it reaches a live report someone else is looking at.
Editing campaigns
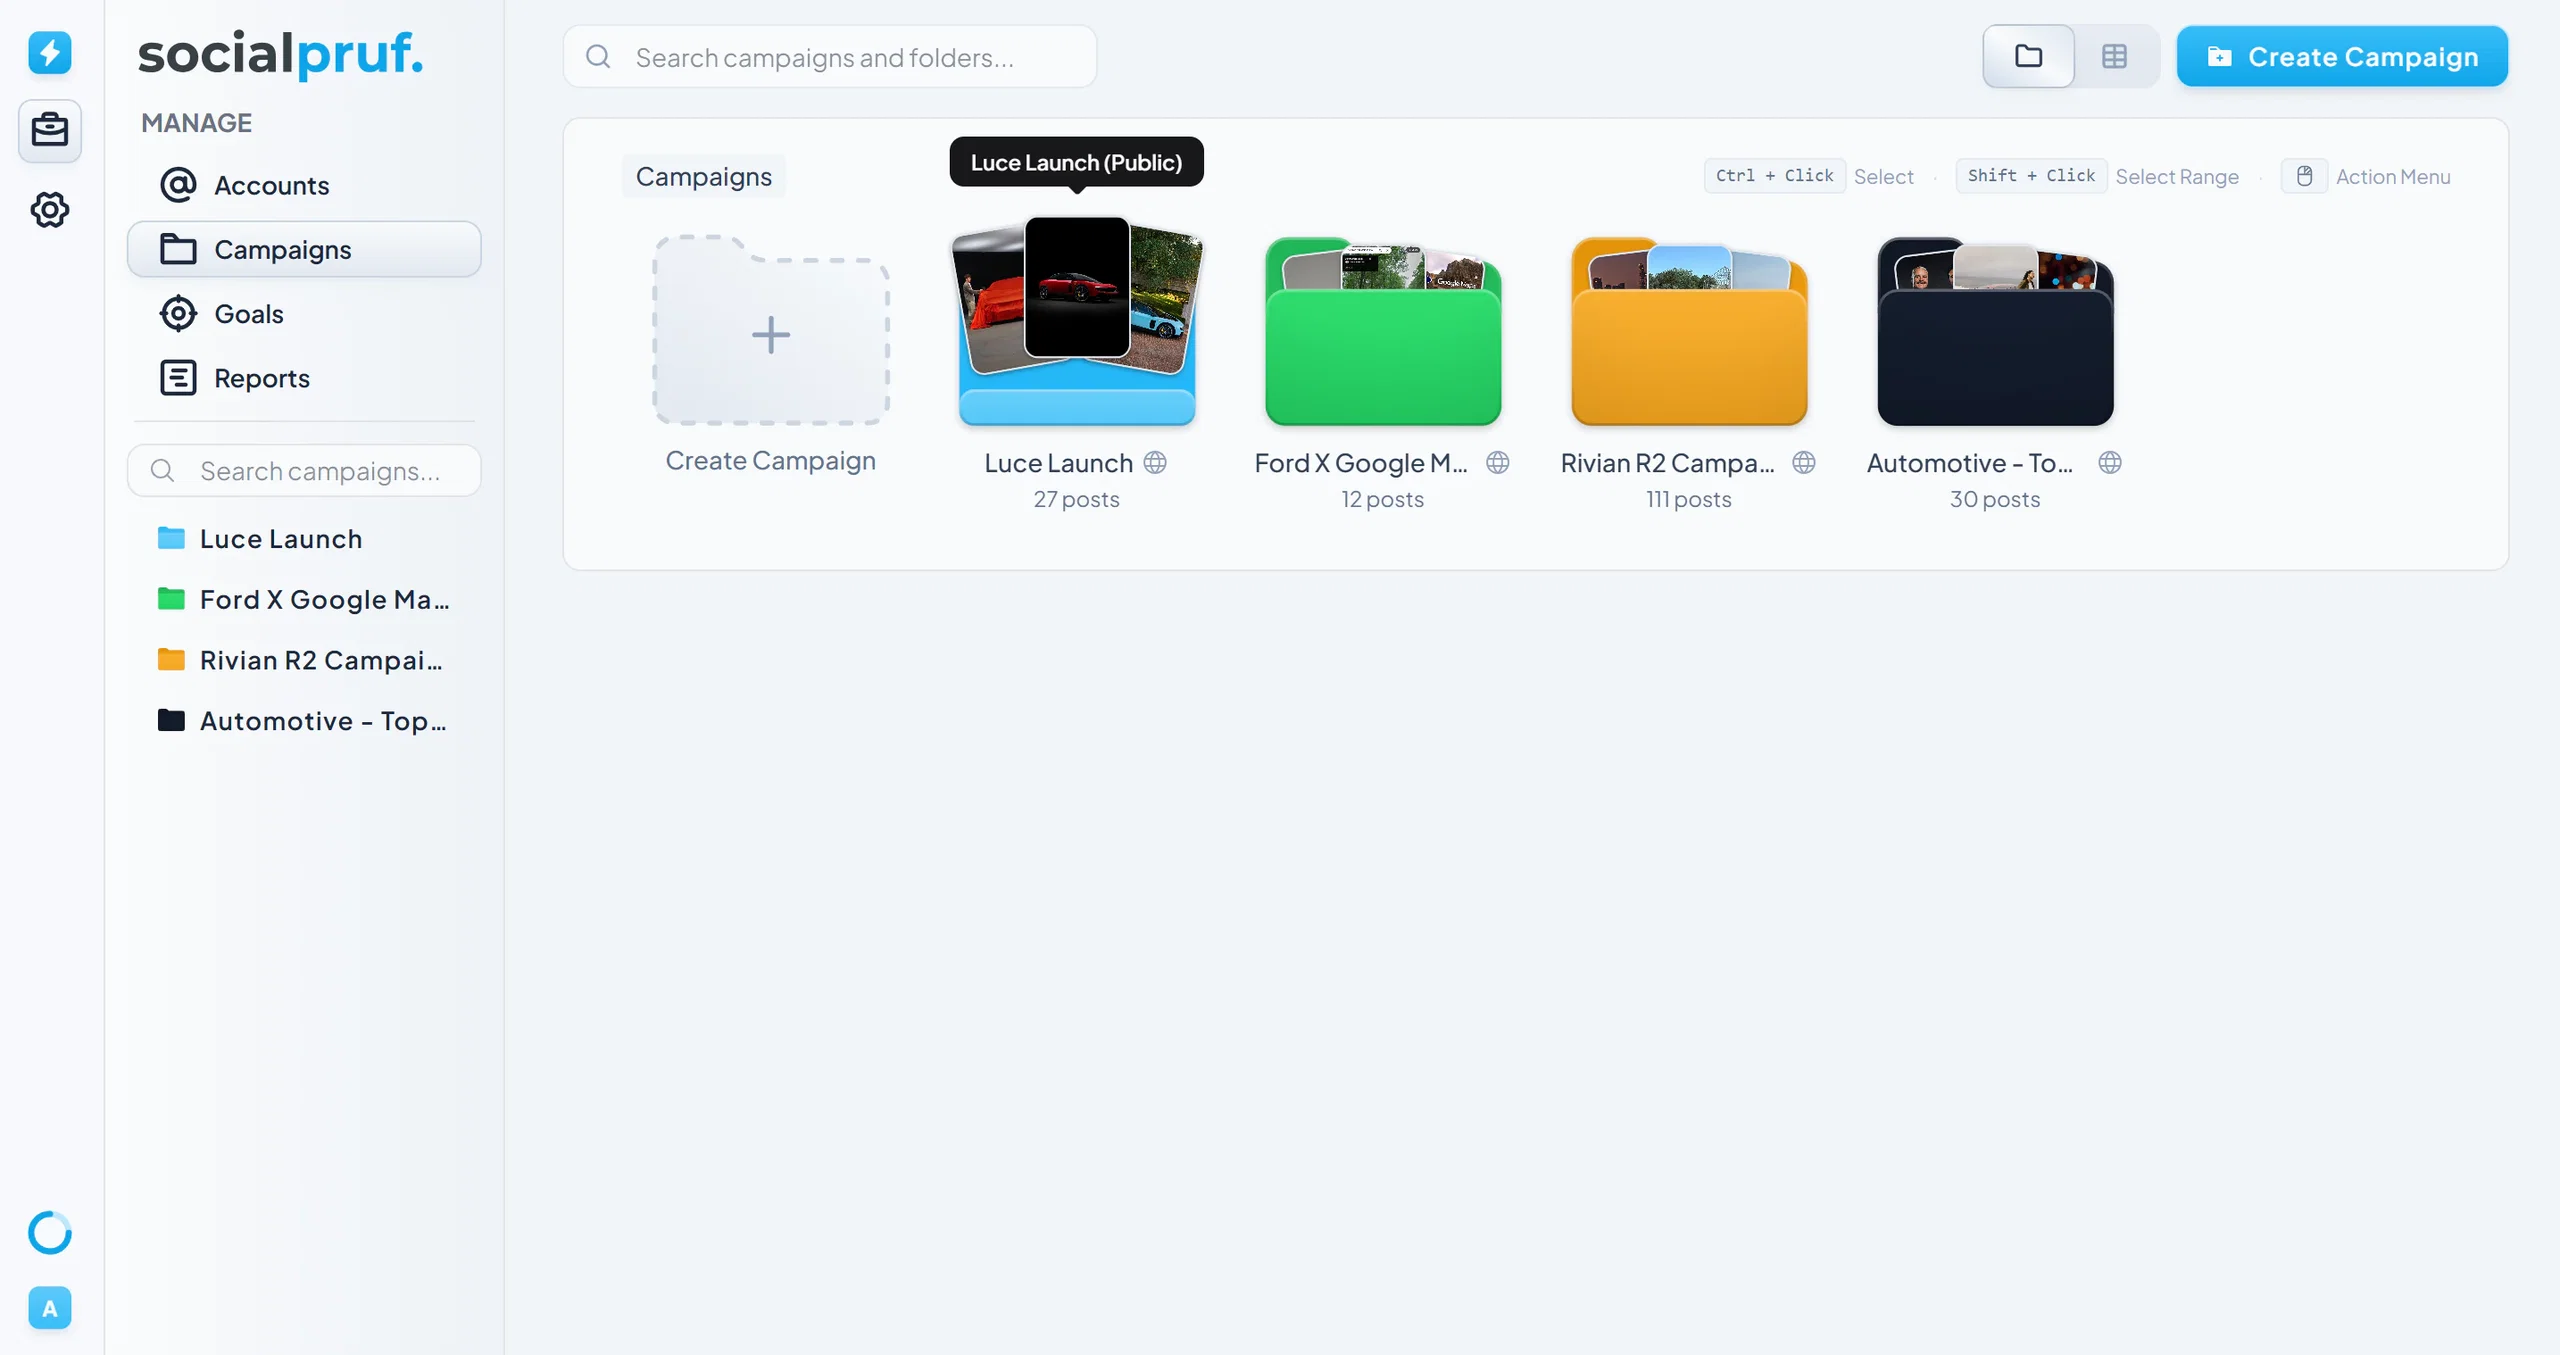
Campaigns change more than anything else in the dashboard; names get tidied up, date windows shift, and dynamic rules need tuning once you see what they're actually pulling in. All of it happens on the Campaigns tab.
Quick edits from the list
You don't always need to open a campaign. In either Table View or Folder View, right-click any campaign or folder for an action menu with Rename and Delete. Select several at once with click and Shift + Click, then delete the whole selection in one go.
The full editor
Click into a campaign to open its panel, then go to the Manage tab inside it. From here you can change:
- Campaign name - rename it without affecting any of the posts inside.
- Color and emoji - the icon the campaign shows everywhere it appears, including filter menus and the Content Menu.
- Dynamic settings - the rules that auto-collect posts. Edit the keywords, the accounts, platforms, brands, campaigns, collaborators, and mentions it draws from, plus the start and end dates and a content limit if you only want the top performers. (Dynamic Campaigns are introduced in Explore.)
- Campaign variables - the custom values attached to this campaign, like spend or impressions from another platform. Add a new one, or click the ✕ on any variable to remove it.
- Privacy - switch the campaign between Public (visible to everyone in your organization) and Private (only visible to you). Only the person who created the campaign can change this.
Other actions in the footer
- Add Posts - jumps you to Explore, filtered to this campaign, so you can tag more content into it.
- Export - downloads the campaign's content and metrics as a file, using the columns you have visible.
- Delete - removes the campaign. The posts themselves stay in the content grid; only the grouping goes away.
Editing dynamic rules is retroactive. Widen a dynamic campaign's date range or add an account and it back-fills with everything that now matches, not just posts published from here on. It's the quickest way to grow a campaign without tagging a single post by hand.