Organize content
Structure is what keeps your accounts usable. Group them into brands, file brands into folders, and build campaigns to measure a launch as one unit.
Socialpruf organization structure
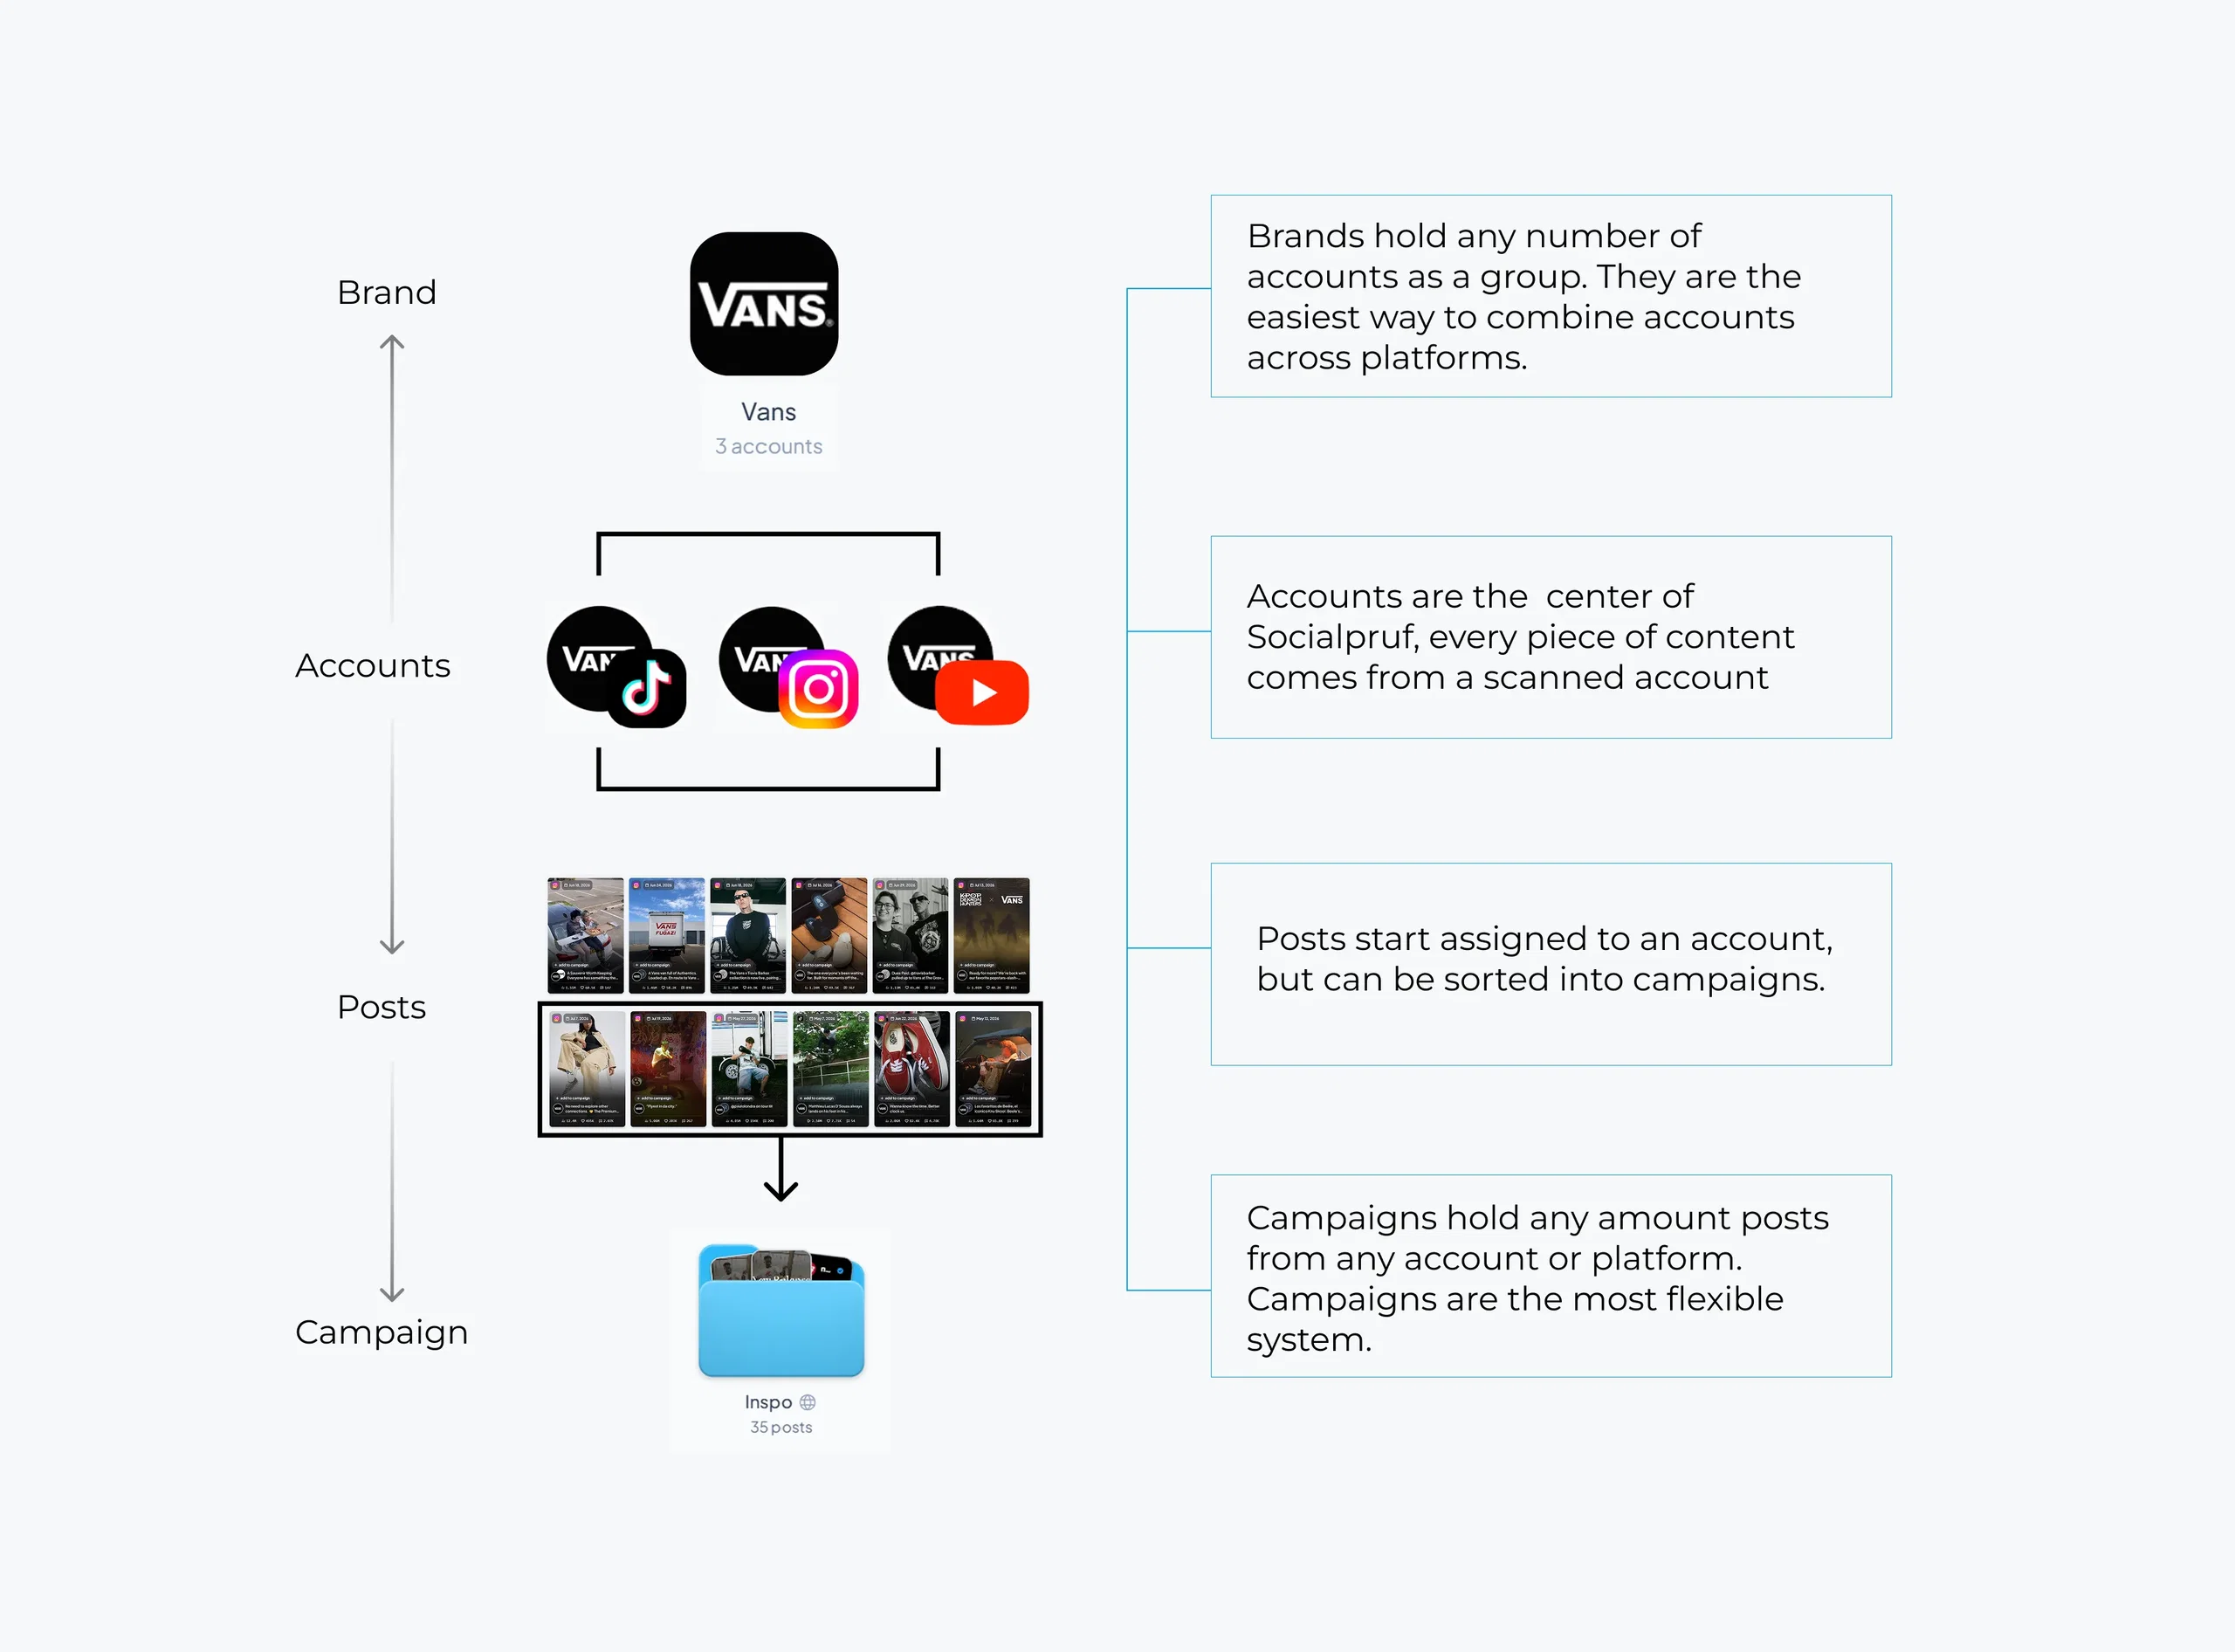
Everything in Socialpruf hangs off two things you bring in: the accounts you track, and the posts those accounts publish. From there the structure splits into two parallel paths, one for accounts and one for content.
Accounts roll up into brands
An account is a single social profile; one Instagram handle, one TikTok, one YouTube channel. Accounts get grouped into brands, so the four or five profiles that represent the same company or client report as a single unit.
Posts roll up into campaigns
Every post from an account you track lands on the Explore page. From there you tag posts into campaigns; groupings of content that cut across accounts and brands, so a launch, a theme or an influencer push reports as one set of numbers.
Organizing Accounts into Brands
Assigning a brand while you track an account
If the brand already exists, the fastest place to assign an account is the Track Account modal you used earlier; no second pass required.
- On the Accounts tab, click Track Account and find the account by URL or search, as before.
- In the assign step, pick the brand you want the account to belong to instead of leaving it unassigned.
- Click Track. The account syncs in already filed under that brand.
If the brand doesn't exist yet, or you tracked accounts as unassigned, create the brand first and assign in bulk.
To create a brand and assign accounts
- On the Accounts tab, click Add Brand in the Content Menu.
- Name the brand and create it.
- Click the new brand in the Content Menu, then click Assign Account.
- In the modal, select the accounts you want to add to the brand and confirm.
Pro tip: Accounts can be tagged across multiple brands. This makes brands a flexible filtering mechanism rather than a strict hierarchy; the same account can live inside as many brands as makes sense for your reporting.
Adding posts to campaigns
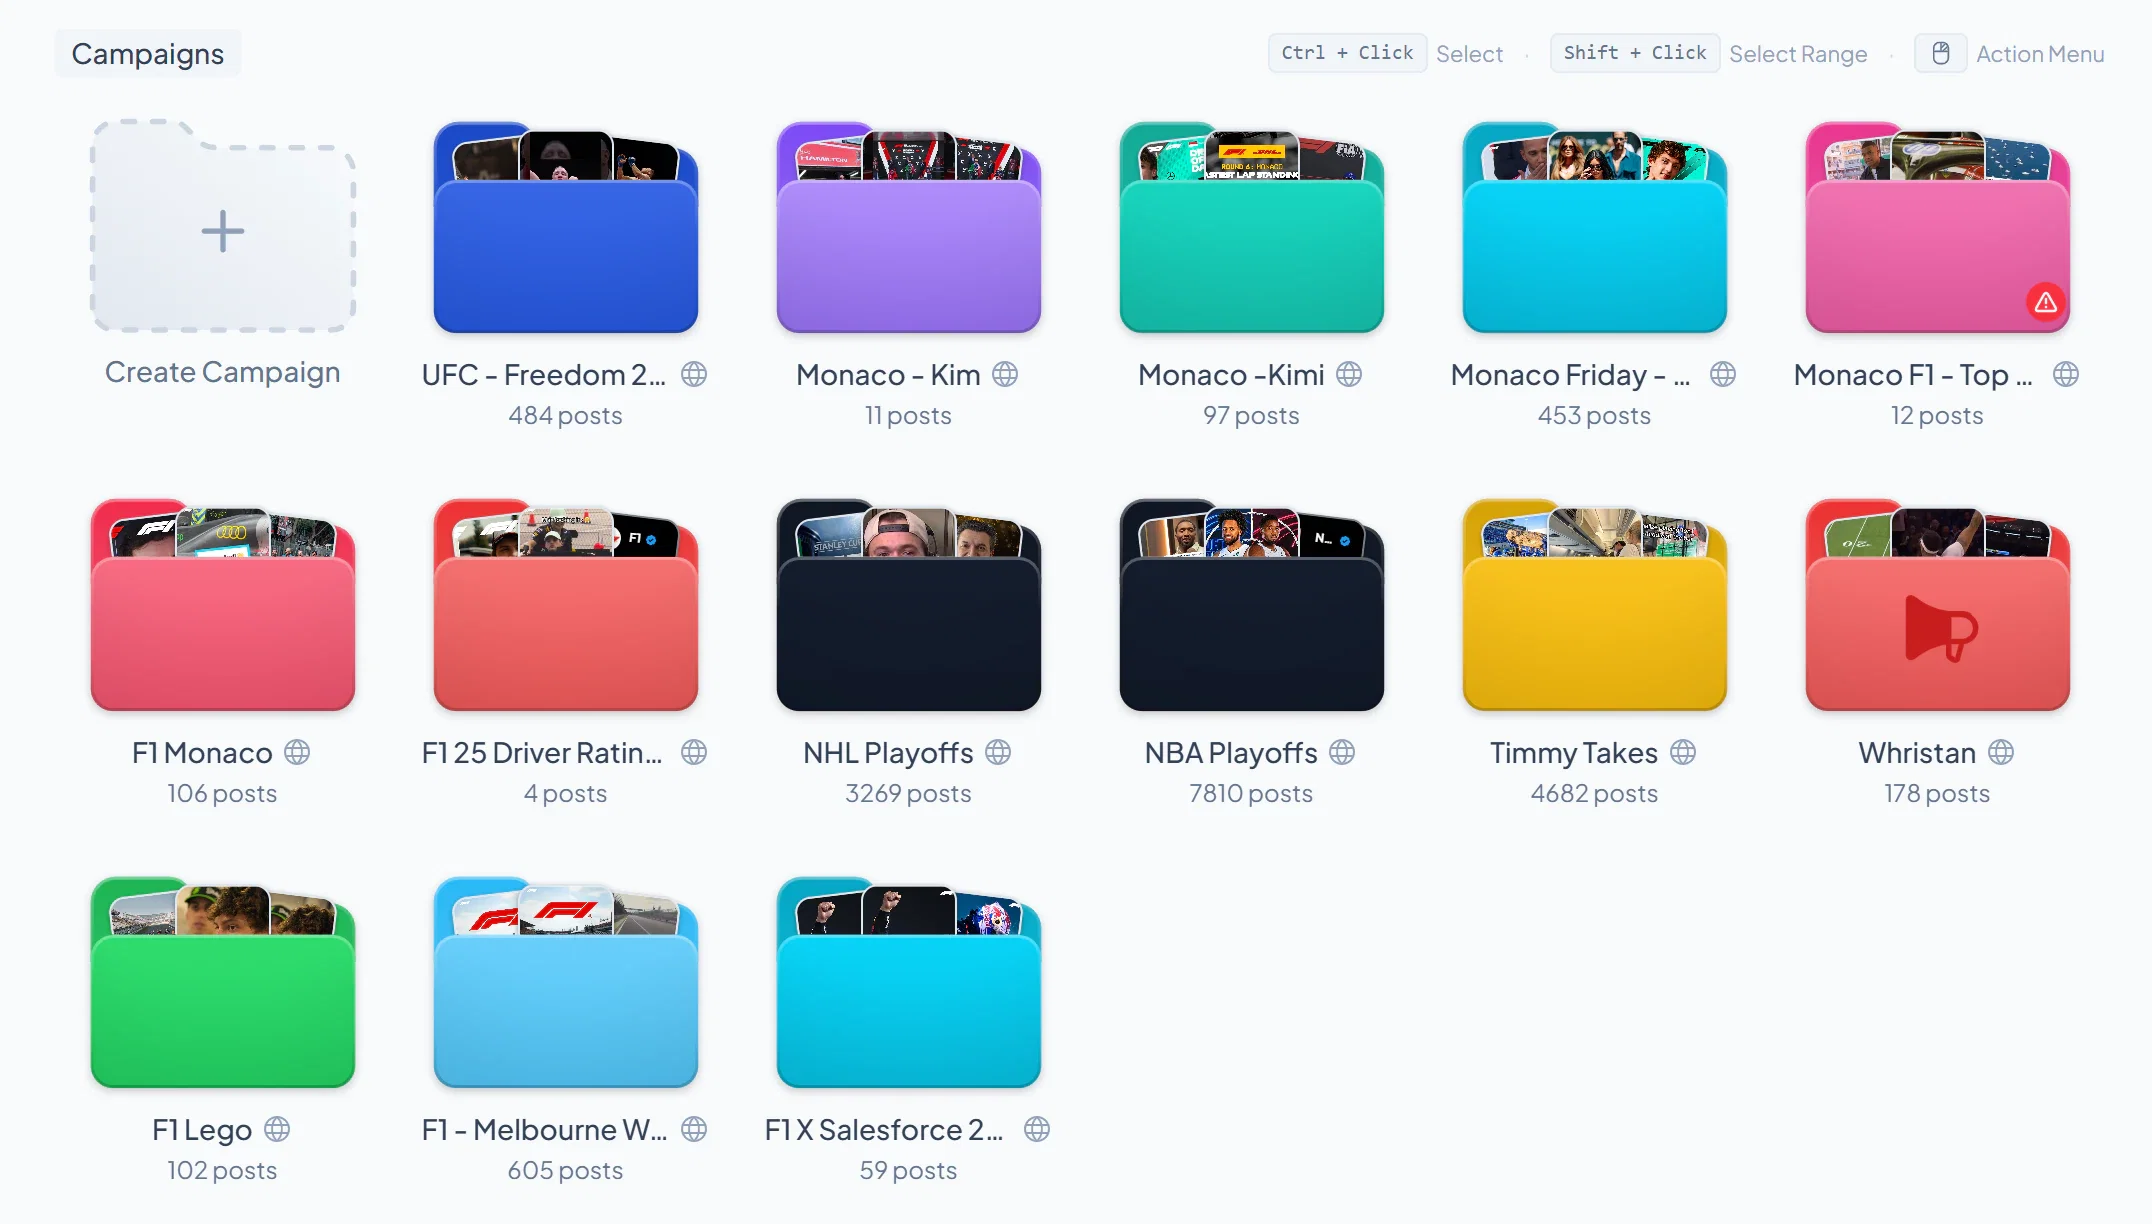
You fill a campaign from the Explore page, where every post across every account you've loaded in is laid out in a content grid. Explore gets a full chapter of its own later on. For now you only need to know it's where your posts live, because that's where you tag them.
To add posts to a campaign
- Click Add to Campaign on a post in Explore. (Use Select All to add several at once).
- Choose to add to an existing campaign or create a new campaign.
- Click Assign .
Those posts are now tagged to that campaign, and you can filter by the campaign anywhere in Socialpruf; to see consolidated metrics for just that group of content.
Pro tip: Posts can live in multiple campaigns at once. Don't be afraid to tag the same post across different themes; for example, a single launch post could belong to “Q4 Product Launch,” “Top Performers 2025,” and “Influencer Collabs” simultaneously.
Importing Single Posts & Bulk Uploads
Sometimes you want to track an individual post without loading the whole account it came from; for example, a creator collaboration or a brand mention from an account you don't have loaded in. Socialpruf supports this through the campaign import flow.
Importing a single post
- On the Campaigns tab, click into a campaign (or create a new one).
- Navigate to the Import tab inside that campaign.
- Paste the post URL into the input field and submit.
Socialpruf will pull in just that single post and begin tracking its performance; no full account load required.
Bulk uploading via CSV
To import many posts at once, click Upload CSV in the same Import menu. Your CSV must contain valid post links in the expected column format. This is the fastest way to backfill a campaign with dozens or hundreds of posts in one go.
Creating Folders
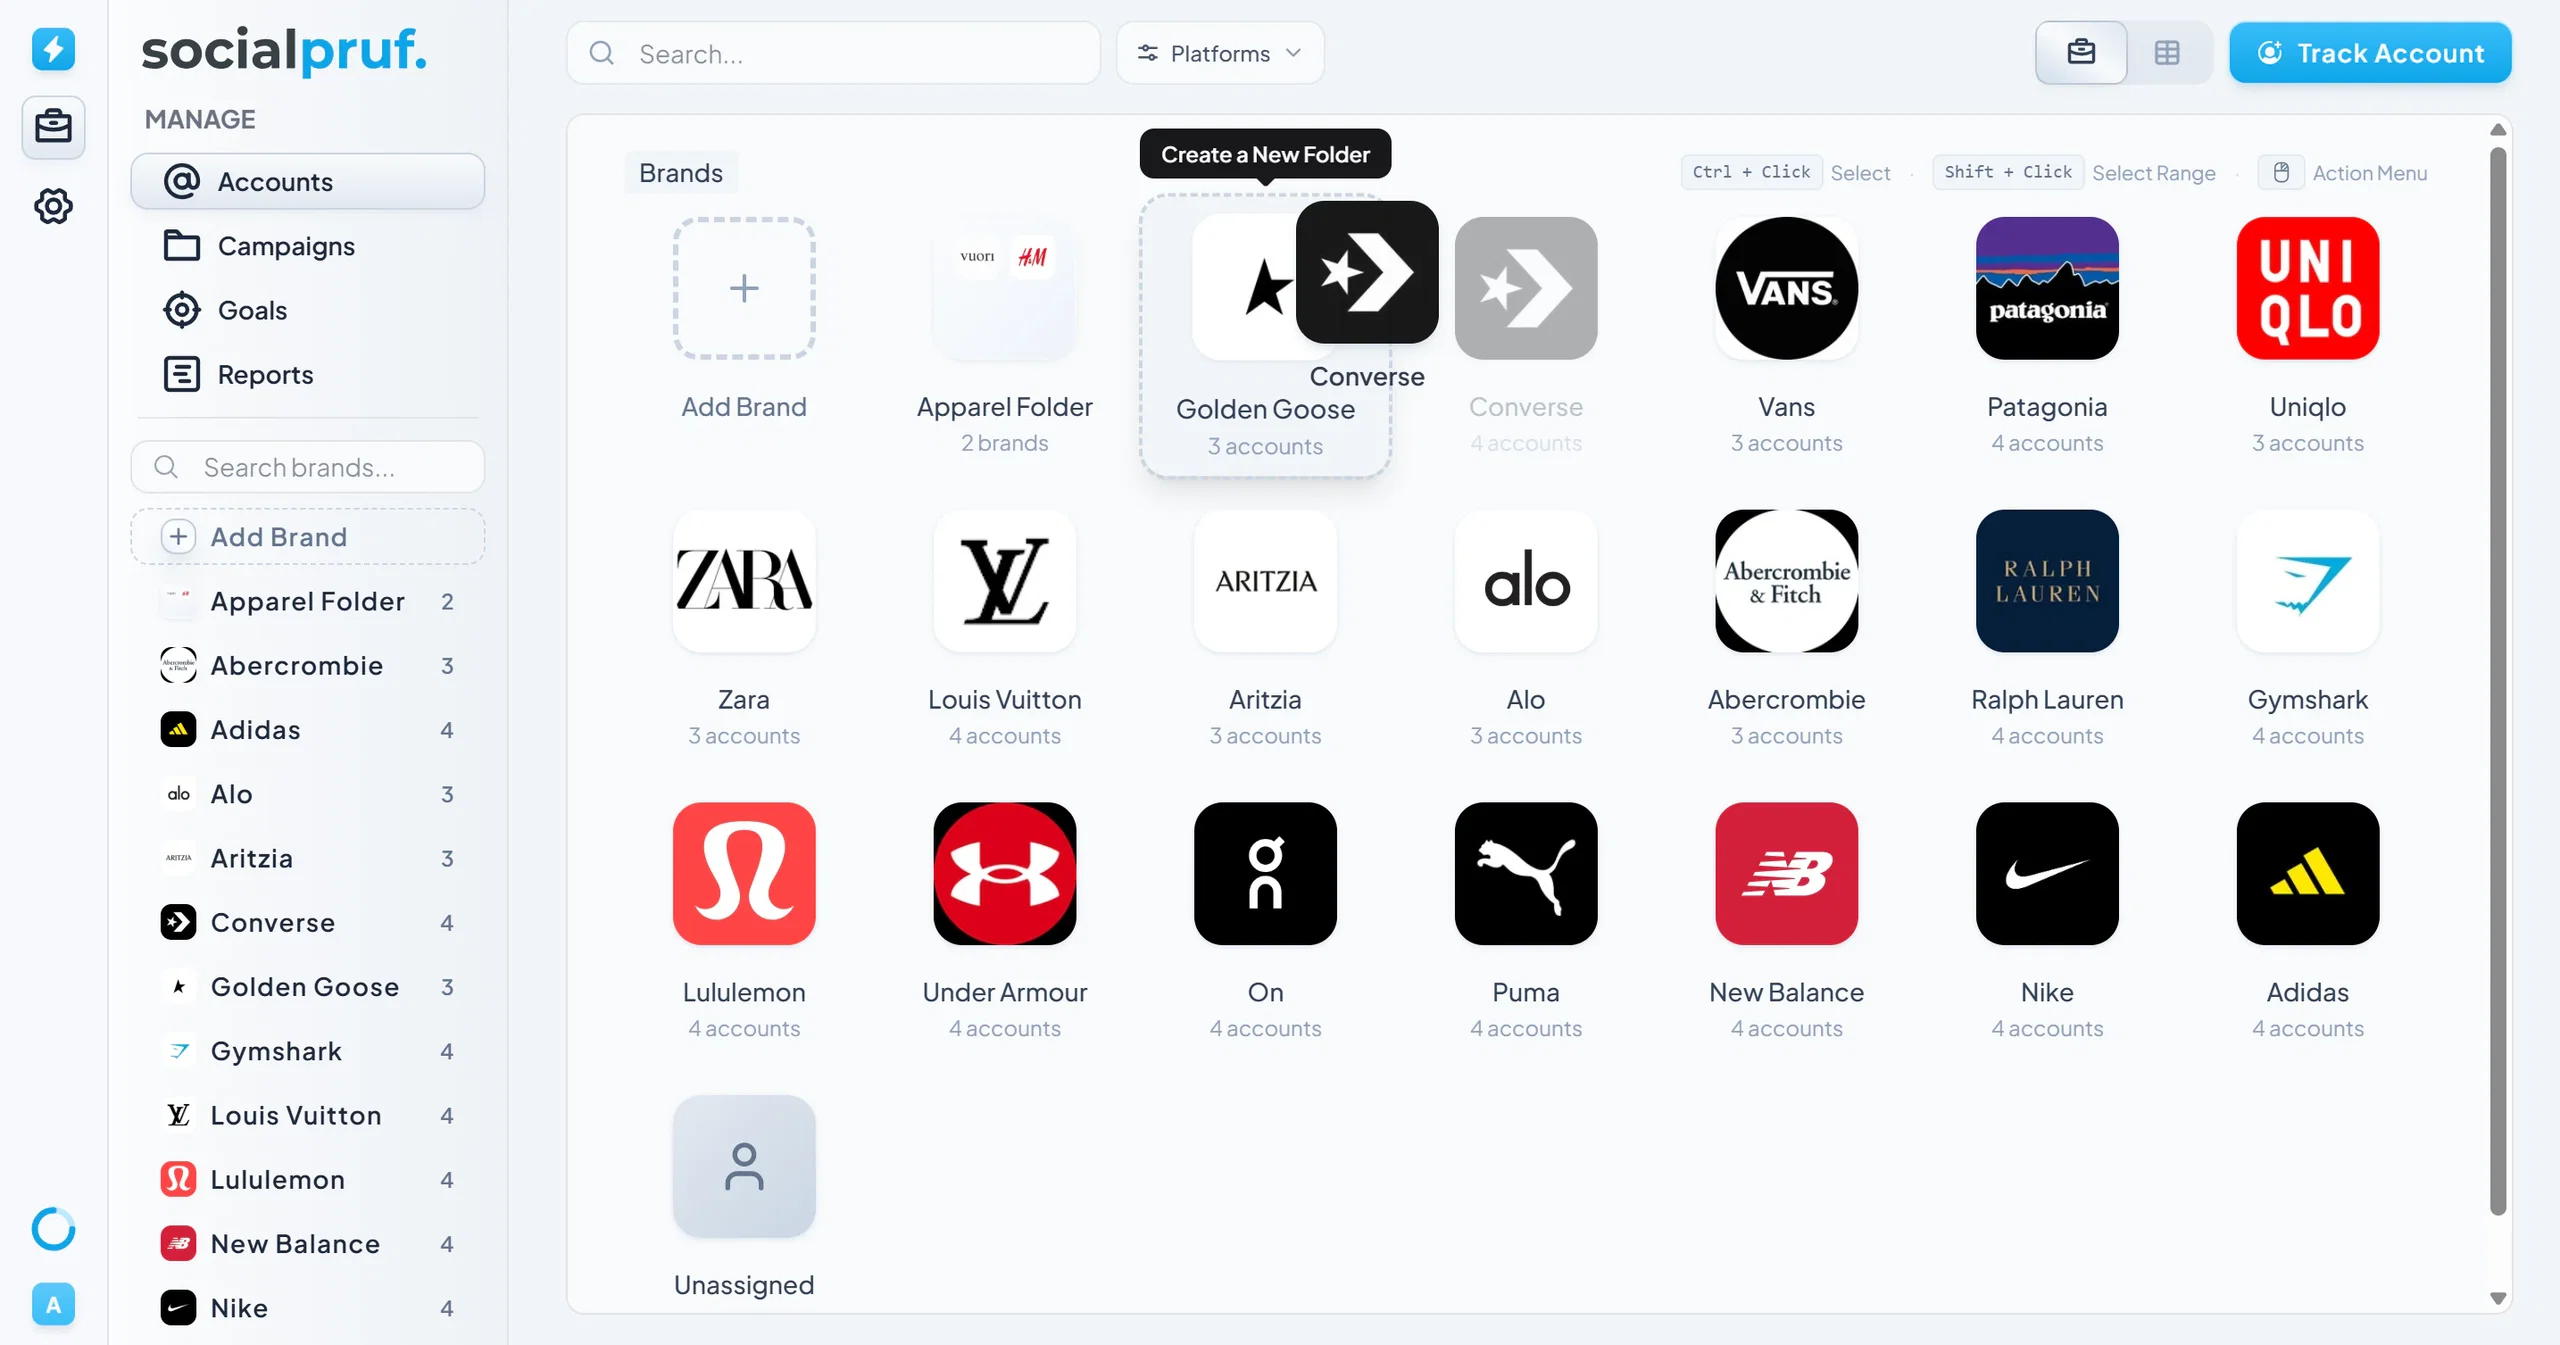
Once you have several brands or campaigns, you can group them into folders to keep the Content Menu tidy and to enable faster filtering across the dashboard. Folders work the same way on both the Accounts tab (for brands) and the Campaigns tab (for campaigns).
To create a folder
- In the Content Menu, drag and drop one brand onto another; or one campaign onto another. This creates a folder containing both.
- Use the toggle in the top right to switch between Table View and Folder View; you can drag and drop in either view to organize them.
Filtering with folders
When you head back to the Overview page and click a folder, the dashboard filters by everything inside that folder at once; great for rolling up entire portfolios, or grouping related campaigns into a single view with one click.
Deleting a folder
To remove a folder, right-click the folder in the Content Menu and select Delete. This dissolves the folder and returns its contents to their original state at the root level. The brands or campaigns themselves are not deleted; only the foldered grouping is removed.
Where all of this shows up
That's the organizing done. Everything you just built; every account, brand, campaign and folder, lives in the Content Menu on the left of the dashboard, sorted under its own icon tab at the top of that list. It follows you from page to page.
That list is your filter. Click a brand, an account, a campaign or a folder anywhere in Socialpruf and the page you're on redraws for just that selection; Overview, Explore, goals and reports all recognize it. Time spent organizing here is what makes every screen that follows quick to slice.