NewGet @deith__'s full report

instagram analytics
Similar Accounts:
instagram analytics
Similar Accounts:
followers
60.0K
impressions
7.79M
likes
246K
comments
9.15K
posts
129
engagement
2.72%
emv
$229K
Average per post
60.4K
Key Metrics
Impressions
monthly
Distributions
Content
1.76M
35.8K
275
11mo ago

deith__
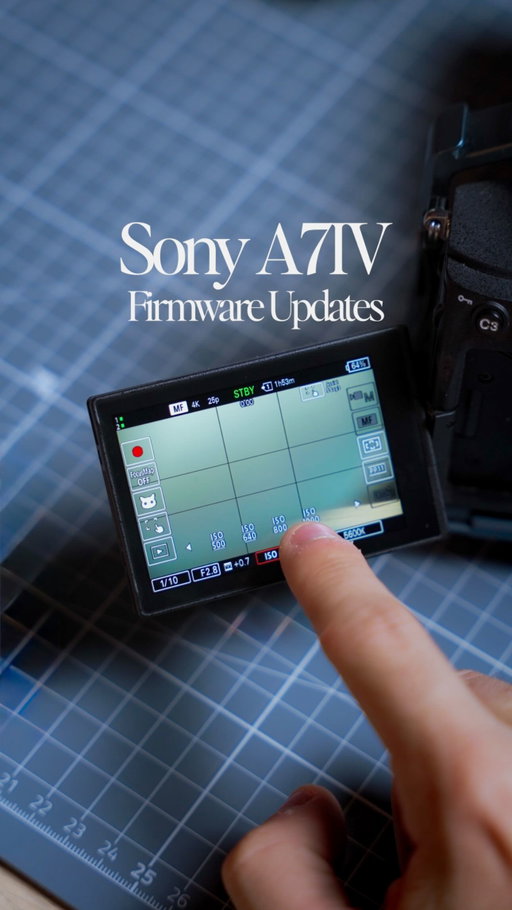
Sony just released Firmware 6.0 for the Sony A7IV, and it brings some really useful upgrades.
You now get a screen layout that adapts to both horizontal and vertical shooting, the new Spot XL focus area for better tracking, and the Golden Ratio guide for cleaner, more balanced framing.
They also added full touch control for changing your shooting settings faster and way more intuitively.
To update: download Firmware 6.0 from Sony’s website, copy the file to your SD card, load it into the camera… and you’re done.
Let me know if you’ve tried it already and which feature you like the most! 🎥✨
-
#FilmmakingTips #ContentCreation #Videomaking #SonyFX3 #SonyA7IV #CameraSettings #VideoTips #CinematicVideo #CameraGear #SonyTips #FilmmakerTools #VideoProduction #RunAndGun
507K
13.0K
359
4mo ago
deith__
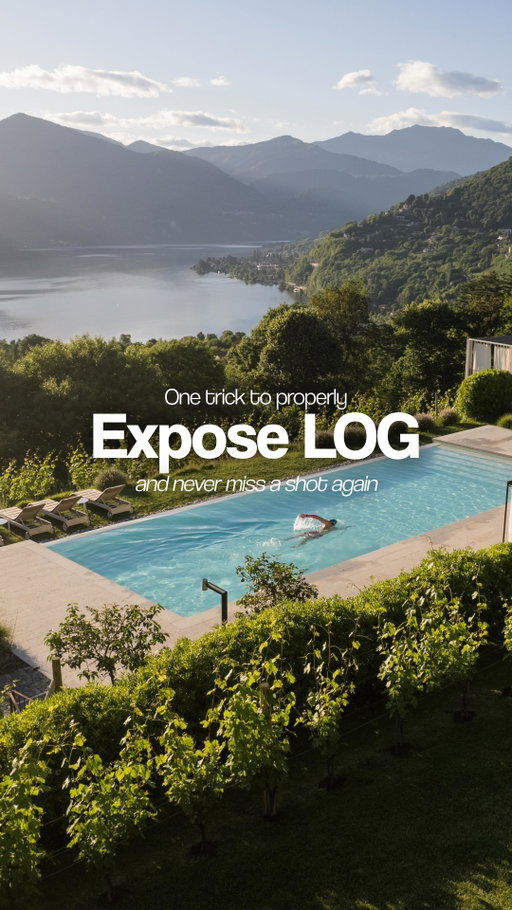
If you shoot LOG on your Sony camera and don’t know how to expose the image, you can use this trick.
First, format your SD card inside the camera — this creates the correct Sony folder structure. Then plug the card into your computer and go to:
PRIVATE → SONY → PRO → LUT
(If the PRO or LUT folders aren’t there, just create them exactly like this.)
Drop your .cube LUT file into the LUT folder, put the card back in the camera, then go to:
Menu → Exposure/Color → LUT → Import
Import your LUT, assign it to Monitor LUT, turn it ON… and that’s it.
You’ll still be recording clean LOG — the LUT is only a preview. Nothing gets baked in.
This makes exposing so much easier and lets you actually see the look while shooting. Save this so you don’t forget the folder path next time.
#SonyFX3 #SonySettings #Videomaking #CameraGear #Tutorial
467K
14.2K
467
9mo ago
deith__
If you shoot LOG on your Sony camera and don’t know how to expose the image, you can use this trick.
First, format your SD card inside the camera — this creates the correct Sony folder structure. Then plug the card into your computer and go to:
PRIVATE → SONY → PRO → LUT
(If the PRO or LUT folders aren’t there, just create them exactly like this.)
Drop your .cube LUT file into the LUT folder, put the card back in the camera, then go to:
Menu → Exposure/Color → LUT → Import
Import your LUT, assign it to Monitor LUT, turn it ON… and that’s it.
You’ll still be recording clean LOG — the LUT is only a preview. Nothing gets baked in.
This makes exposing so much easier and lets you actually see the look while shooting. Save this so you don’t forget the folder path next time.
#SonyFX3 #SonySettings #Videomaking #CameraGear #Tutorial
243K
9.74K
82
9mo ago

deith__
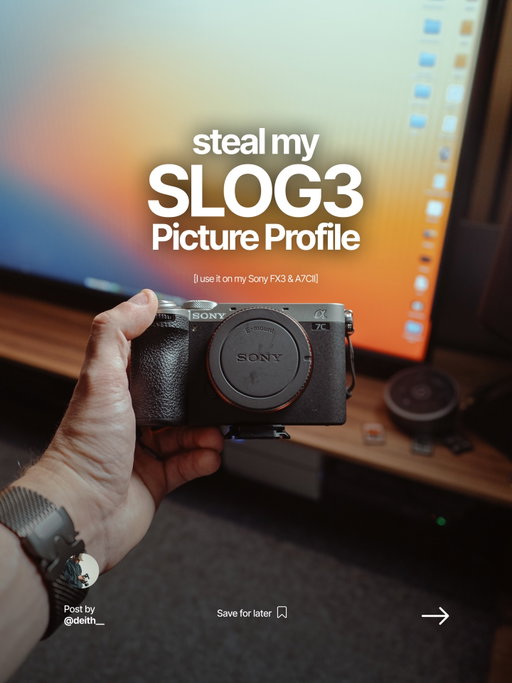
🎥 Sony Picture Profile Explained — The Settings You Need to Change
If you’re shooting on a Sony camera, your footage won’t look cinematic unless your Picture Profile is set correctly.
A single adjustment on the Sony FX3 can completely alter your colors, contrast, and dynamic range — and here’s why these settings matter.
• Gamma: S-Log3 — Maximizes dynamic range and protects highlights.
• Color Mode: S-Gamut3.Cine — Gives you softer, film-like colors for easier grading.
• Black Level: 0 — Keeps shadows neutral without crushing detail.
• Black Gamma: Middle / Level 0 — Controls contrast in the dark areas while keeping a natural roll-off.
• Knee: Auto — Prevents highlight clipping in bright scenes.
• Saturation: 0 — A clean, low-contrast base that grades better than oversaturated footage.
• Color Phase: 0 — Keeps color tones accurate and consistent.
• Color Depth: Default — Ensures natural color balance before grading.
• Detail: –5 — Reduces digital sharpness for a more cinematic, less “video” look.
This setup gives you a flat, flexible image with natural skin tones, smooth highlights, and maximum dynamic range — perfect for cinematic projects, commercials, or anything you plan to color grade seriously.
Save this post for your next shoot and follow for more FX3 / A7IV settings and tips.
#FilmmakingTips #ContentCreation #Videomaking #SonyFX3 #SonyA7IV #CameraSettings #VideoTips #CinematicVideo #CameraGear #SonyTips #FilmmakerTools #VideoProduction #RunAndGun

235K
9.40K
75
11mo ago
deith__
🎥 Sony Picture Profile Explained — The Settings You Need to Change
If you’re shooting on a Sony camera, your footage won’t look cinematic unless your Picture Profile is set correctly.
A single adjustment on the Sony FX3 can completely alter your colors, contrast, and dynamic range — and here’s why these settings matter.
• Gamma: S-Log3 — Maximizes dynamic range and protects highlights.
• Color Mode: S-Gamut3.Cine — Gives you softer, film-like colors for easier grading.
• Black Level: 0 — Keeps shadows neutral without crushing detail.
• Black Gamma: Middle / Level 0 — Controls contrast in the dark areas while keeping a natural roll-off.
• Knee: Auto — Prevents highlight clipping in bright scenes.
• Saturation: 0 — A clean, low-contrast base that grades better than oversaturated footage.
• Color Phase: 0 — Keeps color tones accurate and consistent.
• Color Depth: Default — Ensures natural color balance before grading.
• Detail: –5 — Reduces digital sharpness for a more cinematic, less “video” look.
This setup gives you a flat, flexible image with natural skin tones, smooth highlights, and maximum dynamic range — perfect for cinematic projects, commercials, or anything you plan to color grade seriously.
Save this post for your next shoot and follow for more FX3 / A7IV settings and tips.
#FilmmakingTips #ContentCreation #Videomaking #SonyFX3 #SonyA7IV #CameraSettings #VideoTips #CinematicVideo #CameraGear #SonyTips #FilmmakerTools #VideoProduction #RunAndGun
226K
5.84K
21
10mo ago
deith__
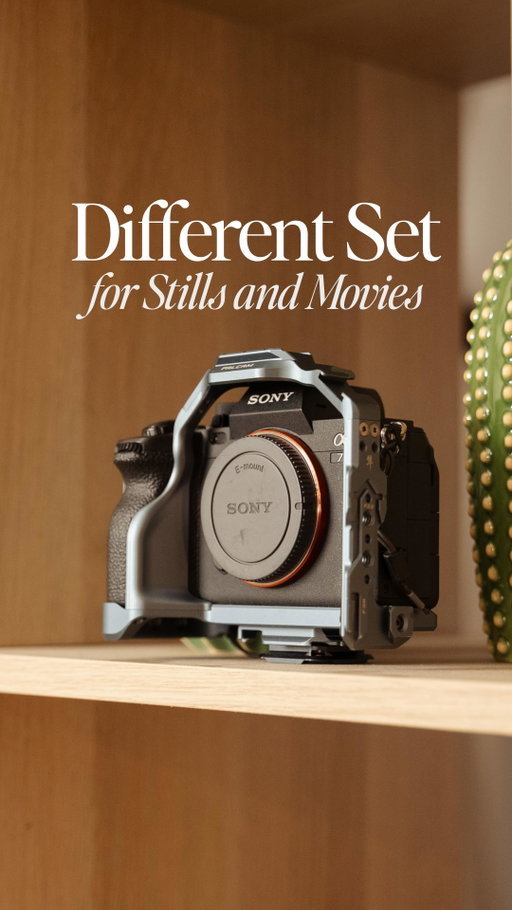
📸 Different Settings for Photo and Video — here’s how to fix it!
If you shoot with a Sony camera, this one’s a game changer.
By enabling “Different Set for Still and Movies”, your camera saves separate settings for photo and video — ISO, white balance, picture profile, exposure, and more.
No more re-adjusting everything every time you switch modes.
Your workflow stays faster, smoother, and way more consistent.
🧭 How to enable it:
Menu → Setup → Operation Customize → Different Set for Still and Movies → Turn ON ✅
Save this post so you don’t forget — and share it with another Sony user who needs this tip!
-
#SonySettings #SonyTips #SonyFX3 #SonyA7IV #SonyAlpha #CameraTips #FilmmakingTips #PhotographyTips #Videography #ContentCreator #CameraSettings #FilmmakerLife
185K
7.40K
102
7mo ago
deith__
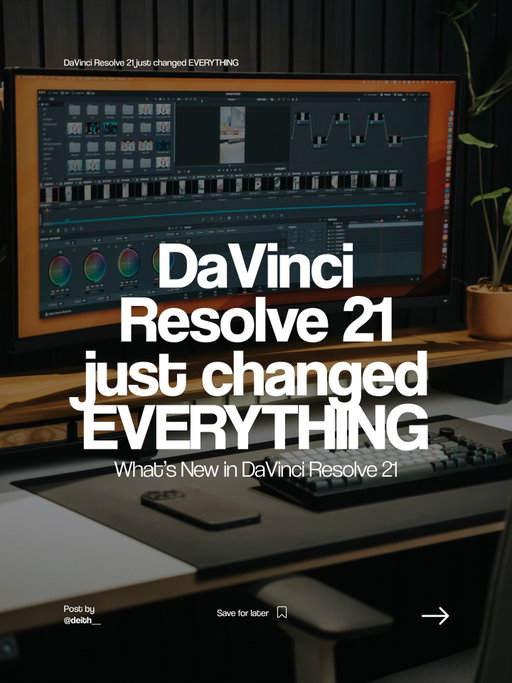
Resolve 21 just changed everything 👀
I didn’t expect this update to go in this direction…
but now DaVinci Resolve is not just for video anymore.
The new Photo page + node-based workflow means you can finally edit photos with the same logic you use for color grading.
Less switching between apps.
More consistency across your work.
Faster workflow overall.
If you shoot both photo and video… this might be a big shift.
Curious to see how far this goes 👇
Would you actually edit your photos in Resolve?
#DaVinciResolve #VideoEditing #ColorGrading #Photography #Filmmaking
185K
5.48K
88
7mo ago
deith__
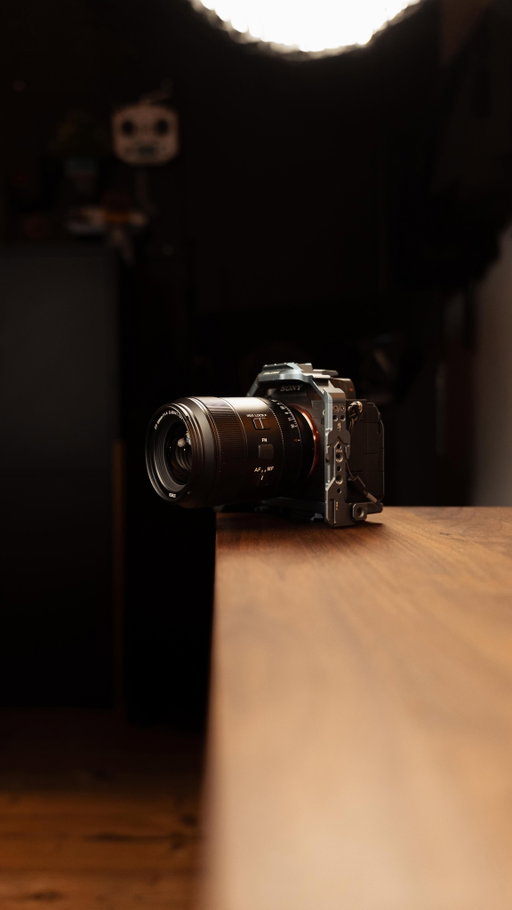
If you shoot LOG on your Sony camera and don’t know how to expose the image, you can use this trick.
First, format your SD card inside the camera — this creates the correct Sony folder structure. Then plug the card into your computer and go to:
PRIVATE → SONY → PRO → LUT
(If the PRO or LUT folders aren’t there, just create them exactly like this.)
Drop your .cube LUT file into the LUT folder, put the card back in the camera, then go to:
Menu → Exposure/Color → LUT → Import
Import your LUT, assign it to Monitor LUT, turn it ON… and that’s it.
You’ll still be recording clean LOG — the LUT is only a preview. Nothing gets baked in.
This makes exposing so much easier and lets you actually see the look while shooting. Save this so you don’t forget the folder path next time.
#SonyFX3 #SonySettings #Videomaking #CameraGear #Tutorial
169K
3.81K
54
9mo ago
deith__
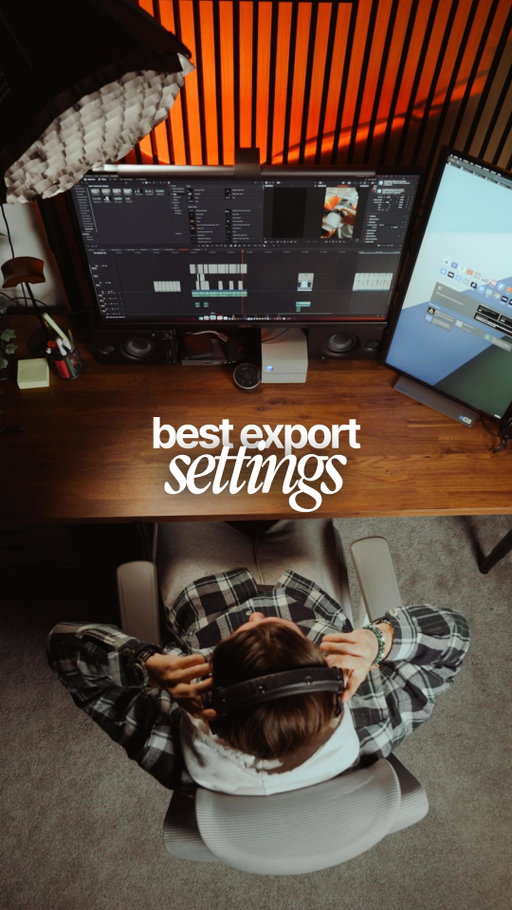
Export settings can make or break your video quality on social media. Here’s my go-to workflow: I always record in 4K and then export in 1080p. Why? Because starting with a higher resolution captures more detail, and when you downscale to 1080p the result is noticeably sharper, cleaner, and more professional-looking.
👉 For export, I recommend a target bitrate between 8–12 Mbps. This range gives you the best balance: high-quality visuals without creating huge files that take forever to upload or get compressed too much by Instagram, TikTok, or YouTube Shorts.
⚡ Quick summary of my settings:
• Record in 4K
• Export in 1080p
• Set bitrate to 8–12 Mbps
This workflow has never failed me—it keeps videos looking crisp and smooth across all platforms while avoiding heavy compression.
💡 Do you want me to share my full export preset settings step by step for Premiere Pro / DaVinci Resolve? Let me know in the comments!
-
#ContentCreation #Videomaking #CinematicLighting #CinematicVideo #ColorGrading #CreativeProcess #VideoTips #SonyFX3 #ExportSettings #VerticalVideo #FilmmakingRig #CameraGear #FX3 #SonySettings #CameraSettings #CameraTips #VideoTips
165K
6.58K
9
1y ago
deith__
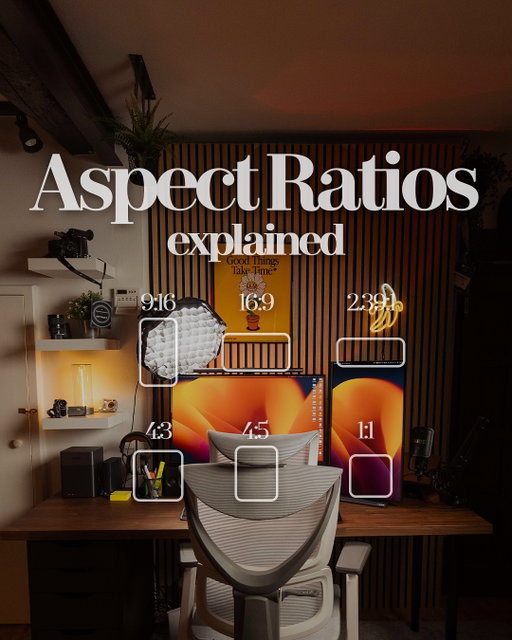
Here’s something every creator should master: choosing the right aspect ratio.
It sounds simple, but it completely changes how your video feels, performs, and connects with people.
I broke down the six formats we all use — 9:16, 16:9, 2.39:1, 4:3, 4:5, and 1:1.
Each one comes with its own purpose, its own mood, and its own advantages depending on where you publish.
If you’re posting vertically, 9:16 is your full-screen hero.
If you want that classic YouTube look, 16:9 is still the standard.
And when you need something truly cinematic, 2.39:1 is unmatched.
Even 4:3, 4:5, and 1:1 have their place — especially when you want a specific style or need to optimize space in the Instagram feed.
I’ve added the recommended pixel sizes and a quick note on when to use each ratio, so you can choose the right one without overthinking it.
Save this carousel for your next project — it’ll make planning your shots so much easier.
-
#AspectRatio #VideoTips #CreatorTips #FilmmakingBasics #InstagramTips #ContentCreation #CameraTips #VideoEditing #FilmmakerLife #CreatorTools #ReelsTips #VerticalVideo #Cinematography #VideographyTips #LearnFilmmaking
132K
5.26K
54
9mo ago
deith__
Want to shoot horizontal and vertical content at once?
If you’re using a Sony camera, there’s one setting you’ll want to activate right now.
Head to Settings → Marker Display → On, then go to Aspect Marker → 9:16.
This creates a vertical guide on your horizontal footage — so you always know exactly what will fit inside a vertical crop. Perfect for Reels, Shorts, or TikToks.
No more guessing your framing or losing important parts of your shot.
Just clean, platform-ready footage every single time.
I use this feature on every client project — and trust me, once you turn it on, you’ll never shoot without it again.
💡 Save this post to remember it for your next shoot!
#Tutorial #CameraSettings #SonySettings #Videomaking #CameraGear

124K
4.98K
35
2mo ago
deith__
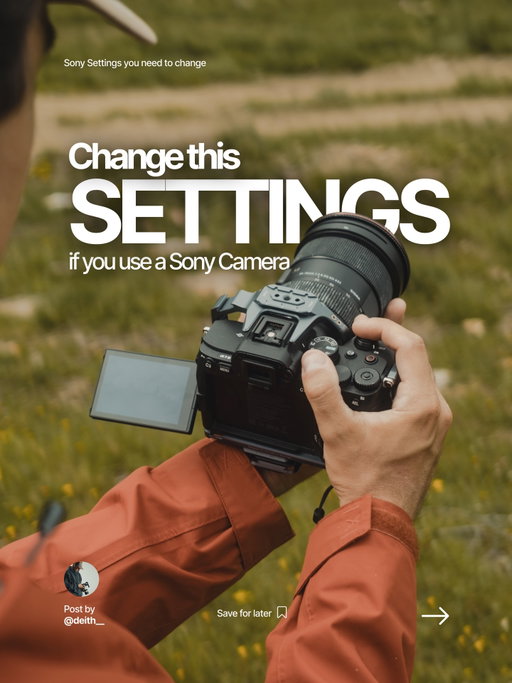
🎥 Sony Picture Profile Explained — the settings that actually make a difference.
If your footage doesn’t look cinematic, chances are your Picture Profile isn’t set correctly.
I tested different setups on the FX3, and this one consistently gives me the cleanest, most flexible image to work with.
S-Log3 + S-Gamut3.Cine is not just a “flat look” — it’s about protecting highlights, keeping natural skin tones, and giving you full control in color grading.
That’s why I keep everything neutral and reduce sharpness:
better base image = better final result.
👇Save this for your next shoot and try it yourself
#FilmmakingTips #Videomaking #SonyFX3 #CameraSettings #CinematicVideo

109K
4.38K
46
8mo ago
deith__
🎥 Sony Picture Profile Explained — the settings that actually make a difference.
If your footage doesn’t look cinematic, chances are your Picture Profile isn’t set correctly.
I tested different setups on the FX3, and this one consistently gives me the cleanest, most flexible image to work with.
S-Log3 + S-Gamut3.Cine is not just a “flat look” — it’s about protecting highlights, keeping natural skin tones, and giving you full control in color grading.
That’s why I keep everything neutral and reduce sharpness:
better base image = better final result.
👇Save this for your next shoot and try it yourself
#FilmmakingTips #Videomaking #SonyFX3 #CameraSettings #CinematicVideo
109K
4.36K
161
2mo ago
deith__
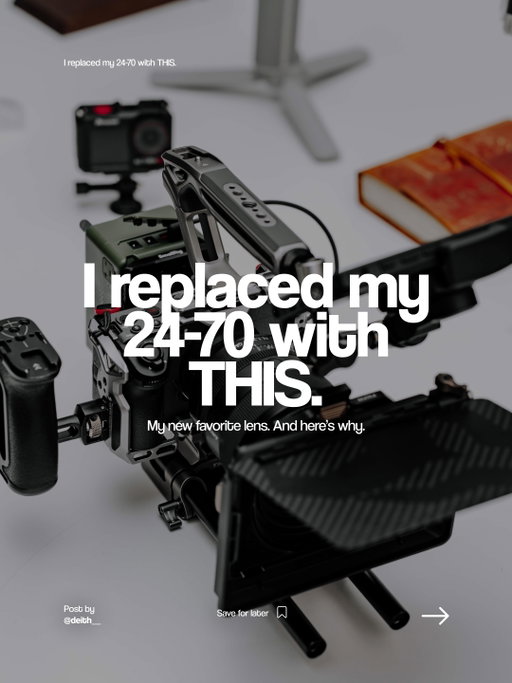
I just bought the Tamron 35-150mm f/2-2.8… and honestly, I didn’t expect to like it this much. 👀
For years, the 24-70mm has been the obvious choice for an all-round zoom. And it still is for a lot of people.
But for the kind of content I shoot, I started feeling limited by 70mm.
The 35-150mm gives me a completely different level of versatility. I can shoot a wider establishing shot at 35mm, then instantly switch to 85, 100 or 150mm for compressed details, portraits and cinematic shots — without changing lenses.
And the f/2-2.8 aperture makes it even more interesting, especially for low-light situations and that beautiful background separation at the longer focal lengths.
Of course, there are compromises.
It’s significantly bigger and heavier than a 24-70, and losing 24mm is something you definitely notice when shooting interiors, landscapes or really wide establishing shots.
But for travel, hotels, events, weddings and lifestyle content, I think the versatility is worth it.
For me, the ideal setup might actually be:
35-150mm + a wide-angle lens.
One lens for almost everything.
One wide lens for everything else.
Would you choose the 35-150 over a 24-70? 👇
#Tamron35150 #SonyAlpha #CameraGear #Videography #ContentCreator
104K
4.16K
28
8mo ago
deith__
Small details can completely change the way your videos feel.
Most of the time it’s not about buying new gear, but about how you approach the shot — framing, movement, and how you build your sequences.
These are a few things I often keep in mind when shooting to make my videos feel more cinematic.
Save this for your next shoot 🎥
#Videomaking #VideomakingTips #ContentCreation #SonyFX3 #CinematicVideos
101K
4.04K
116
10mo ago
deith__
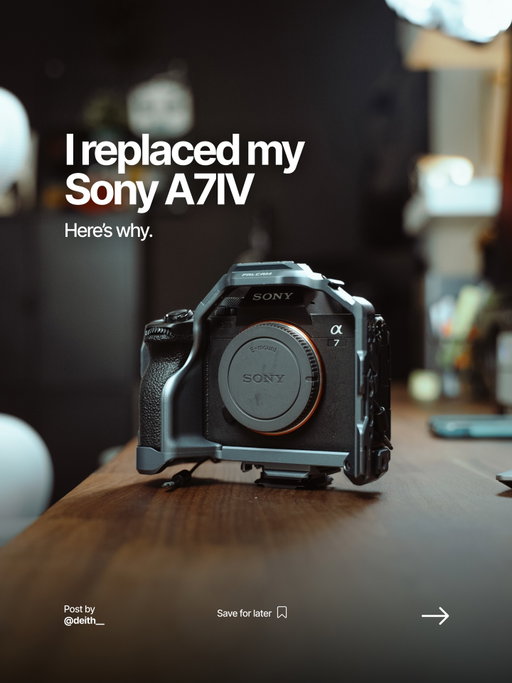
I finally made the switch: I replaced my Sony A7 IV with the Sony A7C II ⚡️
Same full-frame quality, amazing autofocus… but in a much smaller and lighter body.
Which means I actually bring it with me everywhere.
And let’s be honest: this camera just looks so good.
Clean, minimal, modern. I love it.
As my everyday lens, I went with the 24–50mm f/2.8.
Compact, sharp, fast.
Perfect for travel, street, and video.
Sometimes upgrading isn’t about more specs.
It’s about better usability.
⸻
#Sony #SonyAlpha #SonyA7CII #SonyA7IV #FullFrame #CameraGear #CameraSetup #ContentCreator #Videomaker #Filmmaker #PhotographyGear #EverydayCarry #TravelCreator #CreatorLife #GearTalk
94.7K
3.79K
50
8mo ago
deith__
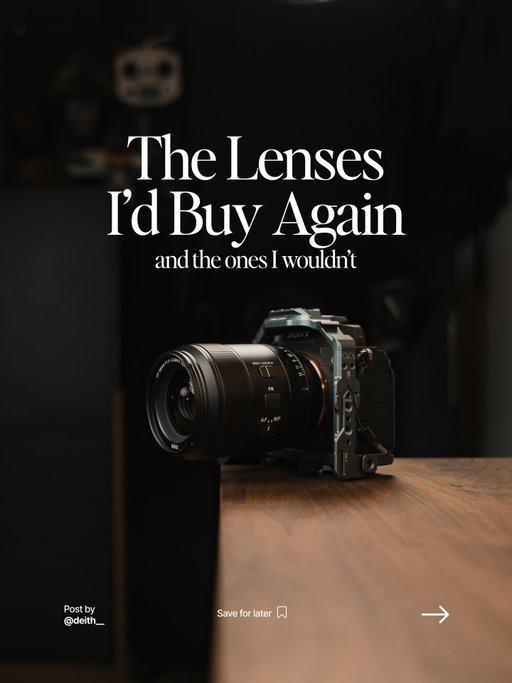
Some lenses become part of your workflow.
Others sounded great… but never really clicked.
After using all of these on real shoots, these are the ones I’d 100% choose again — and the ones I wouldn’t.
Also, I’m seriously thinking about trying a Probe Lens.
If you’ve used one, let me know how it is 👇 I’m curious if it’s actually useful or just very cool.
#Filmmaking #Videomaking #CameraGear #LensChoice #BehindTheScenes

92.7K
3.71K
51
1mo ago
deith__
These are the camera settings I use to get the best quality when shooting Instagram Reels 🎥
No complicated setup — just a few settings that can make a real difference in your final result.
If your footage doesn’t look as clean, sharp, or cinematic as you’d like, these settings could be the reason.
I usually shoot at 50fps because it gives me the flexibility to slow down the footage whenever I need to. Super useful when shooting real projects and working with different types of shots.
Save this post so you can come back to it the next time you set up your camera 👀
#Videomaking #Filmmaking #SonyFX3 #ContentCreation #VideoTips

90.3K
3.61K
148
4mo ago
deith__
The Sony FX5 is getting closer… 👀
Nothing is official yet, but the rumors are definitely getting interesting.
Open Gate, Global Shutter, a new sensor, better codecs… these are just a few of the features I’d love to see in the successor to the FX3.
The FX3 is still one of my favorite cameras, so I don’t think an upgrade is necessary unless Sony brings some truly meaningful improvements.
This carousel is my personal wishlist based on the latest rumors.
👇 Let me know if you would upgrade or not!
#Sony #SonyFX5 #SonyFX3 #Filmmaking #Videography
86.8K
3.47K
39
2mo ago
deith__
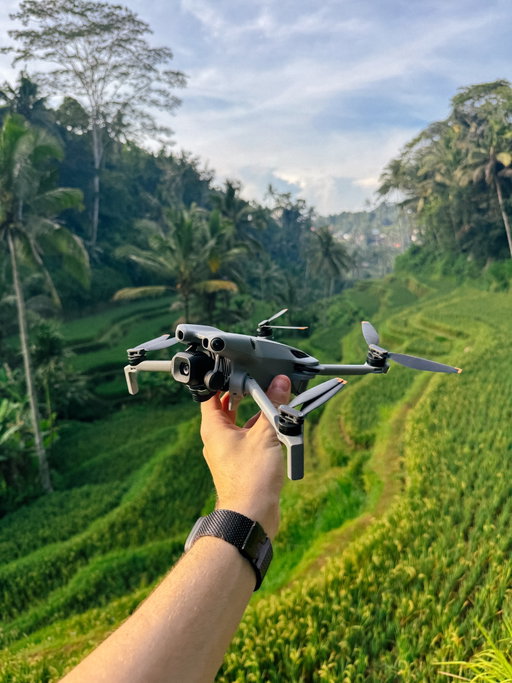
Some clips taken with the drone from my latest trip to Indonesia 🇮🇩
Crazy landscapes and changing light made it the perfect place to test this little drone.
My go-to settings 🎥
4K D-Log M, lowest ISO possible, locked white balance, and 180° shutter for natural motion blur.
Simple settings, better footage.
Save this for later ✨
#DJIMini5Pro #DroneVideo #DroneShots #TravelFilmmaking #ContentCreator
DEITH | Videomaker & Content Creator (@deith__) Instagram Stats & Analytics
DEITH | Videomaker & Content Creator (@deith__) has 60.0K Instagram followers with a 2.72% engagement rate over the past 12 months. Across 129 posts, DEITH | Videomaker & Content Creator received 246K total likes and 7.79M impressions, averaging 1.91K likes per post. This page tracks DEITH | Videomaker & Content Creator's performance metrics, top content, and engagement trends — updated daily. To benchmark @deith__ against other accounts, use Socialpruf's Instagram competitor analysis tool.
DEITH | Videomaker & Content Creator (@deith__) Instagram Analytics FAQ
How many Instagram followers does DEITH | Videomaker & Content Creator have?+
DEITH | Videomaker & Content Creator (@deith__) has 60.0K Instagram followers as of November 2026.
What is DEITH | Videomaker & Content Creator's Instagram engagement rate?+
DEITH | Videomaker & Content Creator's Instagram engagement rate is 2.72% over the last 12 months, based on 129 posts.
How many likes does DEITH | Videomaker & Content Creator get on Instagram?+
DEITH | Videomaker & Content Creator received 246K total likes across 129 posts in the last 12 months, averaging 1.91K likes per post.
How many Instagram impressions does DEITH | Videomaker & Content Creator get?+
DEITH | Videomaker & Content Creator's Instagram content generated 7.79M total impressions over the last 12 months.
Can I compare DEITH | Videomaker & Content Creator with other Instagram accounts?+
Yes. Add @deith__ to a competitor set with Socialpruf's Instagram competitor analysis tool and benchmark it side by side with any other public accounts on views, engagement rate and follower growth, with history back to each account's first post.