NewGet @__diditee__'s full report

instagram analytics
Similar Accounts:
instagram analytics
Similar Accounts:
followers
317K
impressions
30.1M
likes
847K
comments
290K
posts
131
engagement
3.77%
emv
$1.18M
Average per post
230K
Key Metrics
Impressions
monthly
Distributions
Content
3.99M
3.80K
503
8mo ago

__diditee__
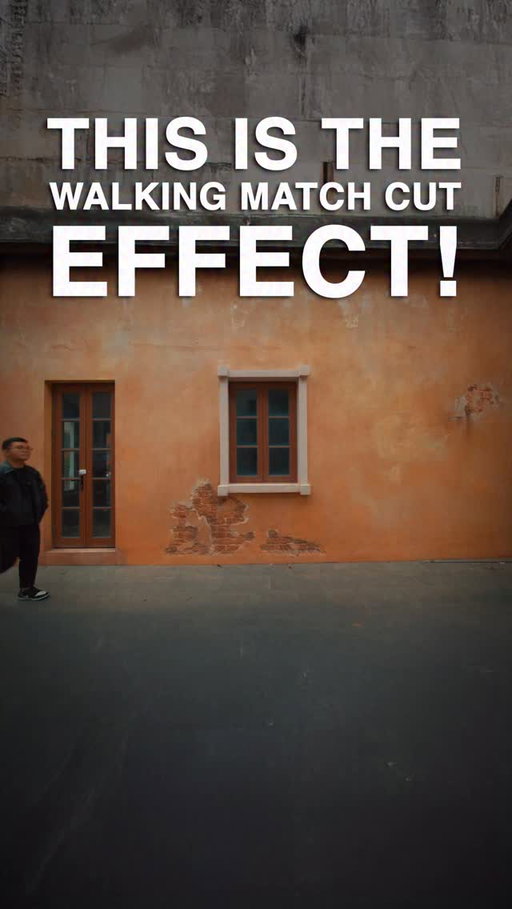
This is the Walking Match Cut Effect!
And here’s how you do it! 🚶♂️
Comment the word “KLING” 🔁 to get the environment images
1️⃣ Film a shot of you walking on the street in 1080p.
Make sure the background isn’t too busy.
2️⃣ Download the Kling app and start a new project.
Select Kling O1.
3️⃣ Upload your video and a photo of a different environment.
In my case, I used New York.
Kling will recreate the same motion in a new environment.
4️⃣ Repeat this step until you have 8 videos total.
5️⃣ Bring all the clips into CapCut.
On every other clip, tap overlay and stack it below.
6️⃣ Scroll forward slightly and tap split.
Scroll a bit more and split again.
Do this for every clip.
7️⃣ Delete the beginning portion of each clip.
You’ll create a descending stair shape so the videos appear one by one.
Before this, I had to film multiple environments just to get different versions of the same shot.
Now I can shoot one clean base clip and create way more variations with Kling.
Use any song you like and voila!
Like and follow for more! @klingai_official
#KlingAl #KlingO1 #VideoNanoBanana #filmmaking
#editing
2.50M
29.7K
3.09K
11mo ago
__diditee__
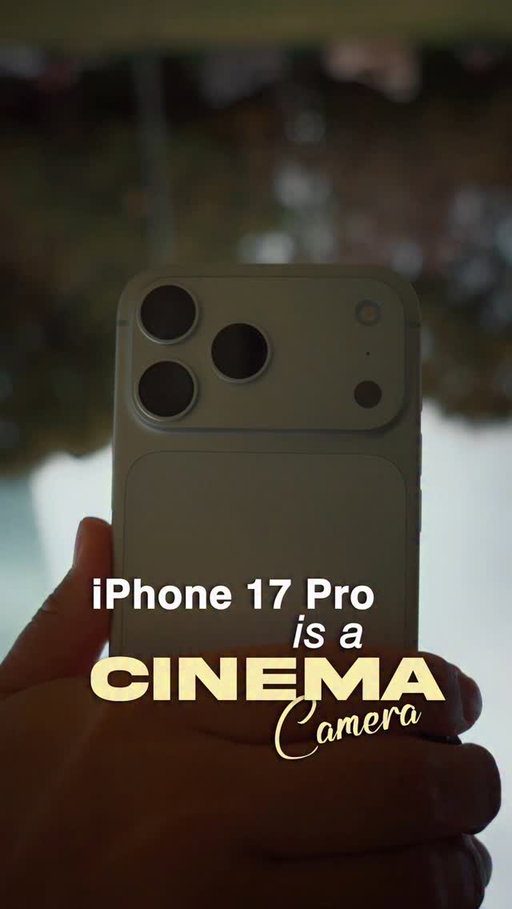
🎥 This is how you get cinema-level footage from your iPhone 17 Pro.
Comment “Osmo” if you want the FREEE LUT!!!
The iPhone can now shoot ProRes RAW and Open Gate, but here’s the problem…. there’s no stabilization in that mode. 🤦♂️🤦♂️
That’s where the DJI Osmo Mobile 8 comes in. @osmo_global
Here’s the exact setup I use ⬇️
1️⃣ Download the Blackmagic Camera App
2️⃣ Plug in an external SSD - it won’t record without it
3️⃣ Set codec to ProRes RAW, and resolution to Open Gate
4️⃣ Mount your phone on the Osmo Mobile 8 for smooth, stabilized shots
5️⃣ Connect via Apple DockKit to track your face in the native camera app
6️⃣ Multifunctional Module doubles as a flashlight and better tracking in the DJI Mimo App. (Plug in cable to use mic wirelessly)
Once done, I apply my Apple ProRes RAW Conversion LUT.
Comment “Osmo” if you want the free LUT!!!
#dji #djiosmo #OsmoMobile8 #OsmoMobile #om8 #Prores #editing #filmmaking #videography #tutorial #cinematography #contentcreator
1.48M
44.5K
169
3mo ago
__diditee__
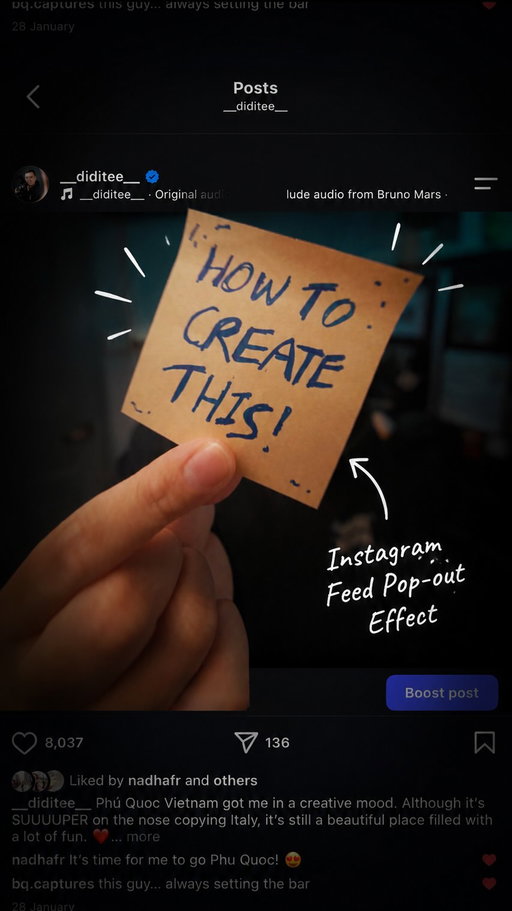
This is the Instagram Feed Pop Out Effect!
And here’s how you do it! 📱
Inspiration @celfstudies
1️⃣ Write something on a Post-it note and film yourself pushing the note towards the camera.
2️⃣ Screenshot one of your Instagram posts.
Crop the top half and save it.
Then crop the bottom half and save that too.
3️⃣ You should now have two cropped screenshots.
4️⃣ Open CapCut and import your video along with both screenshots.
5️⃣ On both screenshots, tap Overlay and drag them below your video.
Resize them so they match the full length of your clip.
6️⃣ Reposition the screenshots until they perfectly recreate your Instagram feed.
7️⃣ Select your original video and tap Duplicate.
8️⃣ On the duplicated clip, go to Remove Background → Custom Removal.
Paint over the Post-it note.
9️⃣ Tap Overlay one final time and drag the duplicated clip below everything else.
Voila!
You get this really cool Instagram feed pop out effect.
Like and follow for more!
#filmmaking #editing #videography #tutorial
1.30M
61.5K
381
5mo ago
__diditee__
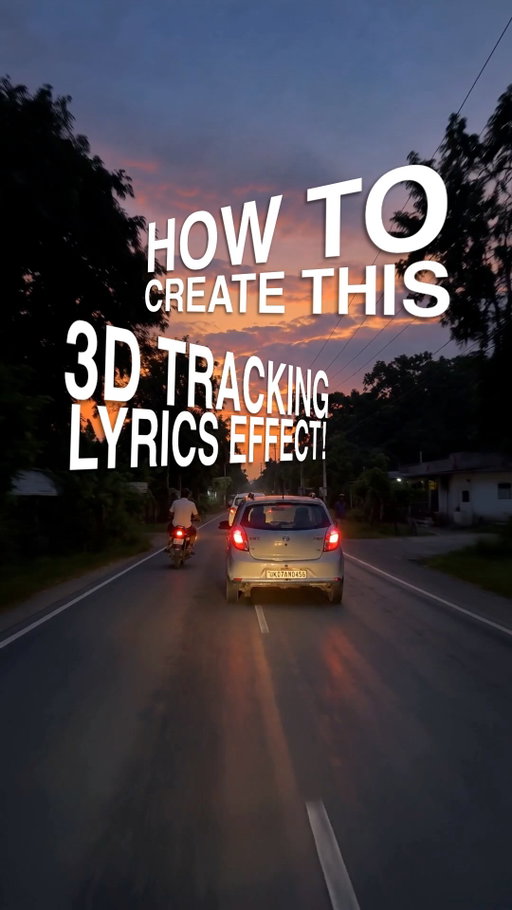
This is how to create the 3D tracking style lyrics like @asycreative ❤️
This is such a cool effect and I’ve already seen a few tutorials online showing how to create it on CapCut.
However they don’t usually look that good because you need to estimate the sizing perfectly. This effect was most likely done in after effects with camera tracking. But for the peeps who want to do it on their phone, this one is for you! 🫡
Stay creative! Like and follow if you’d like more tutorials like this. 🔥
#Tutorial #Editing #Contentcreator #Filmmaking #Viralhooks
1.12M
53.0K
40.2K
9mo ago
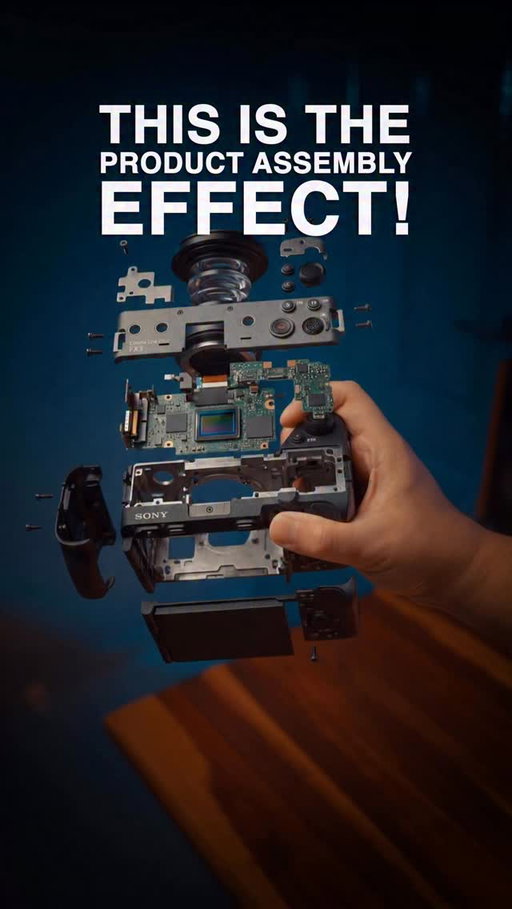
__diditee__
This is the Assembly Effect!! And here’s how you do it! 📸
Comment the word “BANANA” 🍌 to get all the prompts and sound effects
Here’s how you do it 👇
1️⃣ Grab a photo of you holding an item.
Tech products work really well for this, or even mechanical things like watches!
2️⃣ Head to higgsfield.ai.
Go to Create and select Nano Banana Pro.
Upload your image.
3️⃣ Copy and paste in the first prompt.
Don’t worry about memorising it.
Just comment “BANANA” and I’ll send you everything you need.
4️⃣ Set your aspect ratio to 9:16 and 4K.
Turn on multiple generations so you have more options.
5️⃣ Hit generate and choose the result you like.
6️⃣ Tap modify → video → general.
Change the model to Minimax Hailuo 02.
7️⃣ Upload the original unedited photo as your end frame.
Paste in the second prompt and hit generate.
Voila!
You get this super satisfying assembly effect.
Like and follow for more! @higgsfield.ai
Credits to @az.tbc for helping me with the prompt ideas ❤️
#filmmaking #editing #videography #tutorial #higgsfield
994K
32.6K
19.3K
7mo ago
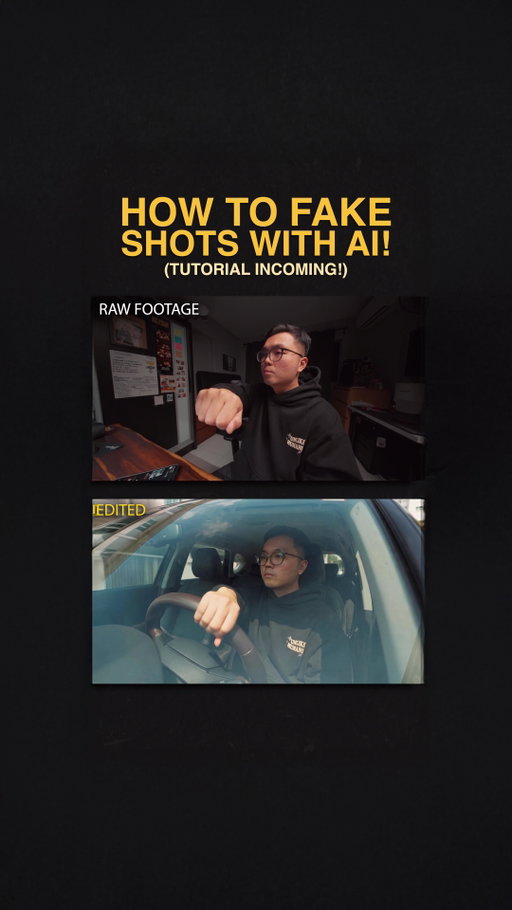
__diditee__
This is How To Fake Shots With AI Without Leaving Your Bedroom!
Comment the word “BANANA” 🍌 to get all the prompts!!!
Here’s how you do it 👇
1️⃣ Film yourself pretending to drive.
Yes it looks stupid. But it works.
2️⃣ Screenshot the first frame of your video.
3️⃣ Head to Higgsfield.ai → Create → Nano Banana Pro.
Upload your screenshot.
4️⃣ Paste in the first prompt.
Comment “BANANA” and I’ll send you everything you need for free.
5️⃣ Hit generate.
Now you have a realistic shot of you inside a car.
Download the image.
6️⃣ Go back to Create → Videos → Create Video.
Change the model to Kling 3.0 Omni Edit.
7️⃣ Upload your original video.
Upload the newly generated car image as the reference.
8️⃣ Paste in the second prompt and hit generate.
Voila!
You just faked a car scene without ever leaving your bedroom.
Like and follow for more! @higgsfield.ai
#filmmaking #editing #videography #tutorial #higgsfield
938K
34.4K
15.6K
1mo ago
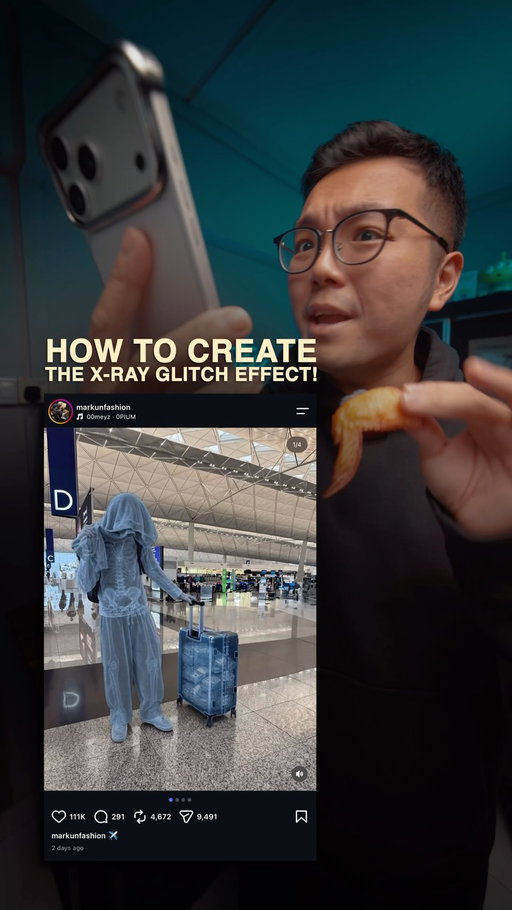
__diditee__
This is the X-Ray Glitch Effect!
And here’s how you do it! 🩻
Comment the word “PROMPT” 💬 to get the X-Ray prompt for free.
Inspired by @markunfashion
1️⃣ Take any photo of yourself.
2️⃣ Open ChatGPT, upload your photo and paste in the X-Ray prompt.
Comment “PROMPT” and I’ll send you everything you need.
3️⃣ Generate the image and download your new X-Ray version.
4️⃣ Open CapCut and import both the original photo and the X-Ray image into a new project.
5️⃣ Select the X-Ray image and go to Remove Background → Custom Removal.
Paint over yourself to cut yourself out.
6️⃣ Tap Overlay and drag the X-Ray cutout below your original image.
7️⃣ Now create tiny cuts throughout the X-Ray layer.
Scroll forward a few frames, trim it, scroll forward again and trim it again.
Leave some sections visible and repeat the small trims near the end.
This creates the rapid X-Ray glitch flashes.
8️⃣ Import the same X-Ray image again.
Go to Remove Background → Custom Removal, but this time cut out another object.
For mine, I used the traffic light.
9️⃣ Tap Overlay, drag it below and repeat the same tiny trims.
This makes the X-Ray effect glitch between different objects in the scene.
Voila!
You get this really cool X-Ray Glitch Effect!
Like and follow for more!
#filmmaking #editing #videography #tutorial #chatgpt
913K
42.7K
5.64K
8mo ago
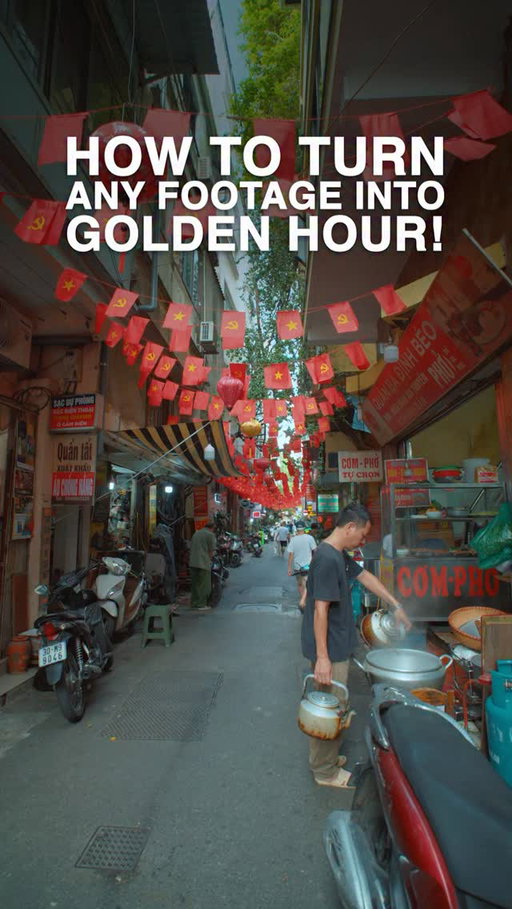
__diditee__
This is How To Turn Any Footage Into Golden Hour! 🌅
Comment the word “GOLD” ✨ to get the link
Here’s how you do it 👇
1️⃣ Grab a screenshot of the first frame of your video.
Head to higgsfield.ai.
2️⃣ Under Image, search for Relight.
Upload your screenshot.
3️⃣ Tap the arrow icon and drag the light to your desired angle.
I usually place the light behind my subject.
4️⃣ Set the light to hard.
Adjust the brightness to 80%.
5️⃣ Change the light color to orange for that golden hour vibe.
6️⃣ Hit generate.
Once it’s done, download the image.
7️⃣ Select Animate.
Change the model to Kling O1 Video Edit.
Upload the new AI image as a reference.
8️⃣ Type this prompt.
Change the environment in @video1 to the lighting in @photo1.
9️⃣ Hit generate and voila!
You’ve got a golden hour look on any footage.
Higgsfield is giving free unlimited generations for Kling if you’re on their annual plan.
That means you can test this effect as many times as you want.
Comment “GOLD” if you want the link.
Like and follow for more! ❤️
@higgsfield.ai
#filmmaking #editing #videography #tutorial
![This is How To Get 3D Tracking Title Cards On Your Phone!
Comment the word “BANANA” 🍌 to get my 3D reference pack and prompts
Here’s how you do it 👇
1️⃣ Film a video of you holding an object.
Screenshot the first frame of the video.
2️⃣ Head to Higgsfield.ai → Create → Images → Nano Banana Pro.
Upload your screenshot and one of the reference images from my 3D reference pack.
3️⃣ Paste this prompt and customise the text however you like.
Create a 3D text anchored to the [object] in the image.
Use the text graphic from the camera photo as reference.
The text should say [your custom title].
4️⃣ Choose 4 generations and hit generate.
Download your favourite result.
5️⃣ To animate it, go to Create → Videos → Create Video.
Change the model to Kling 3.0 Omni.
Upload the plain screenshot as the start frame and the generated image as the end frame.
Paste in the animation prompt and generate.
6️⃣ To track the text, go to Kling 3.0 Omni Edit.
Upload your full video, along with the plain screenshot and the generated image.
7️⃣ Paste in the tracking prompt and hit generate.
Voila!
You now have 3D tracking title cards with no VFX experience needed.
Like and follow for more!
@higgsfield.ai
#filmmaking #editing #videography #tutorial #higgsfield](https://cdn.socialpruf.com/instagram/thumbnails/3851493469345180547_304884398?optimizer=image&width=512)
884K
29.5K
18.6K
7mo ago
__diditee__
This is How To Get 3D Tracking Title Cards On Your Phone!
Comment the word “BANANA” 🍌 to get my 3D reference pack and prompts
Here’s how you do it 👇
1️⃣ Film a video of you holding an object.
Screenshot the first frame of the video.
2️⃣ Head to Higgsfield.ai → Create → Images → Nano Banana Pro.
Upload your screenshot and one of the reference images from my 3D reference pack.
3️⃣ Paste this prompt and customise the text however you like.
Create a 3D text anchored to the [object] in the image.
Use the text graphic from the camera photo as reference.
The text should say [your custom title].
4️⃣ Choose 4 generations and hit generate.
Download your favourite result.
5️⃣ To animate it, go to Create → Videos → Create Video.
Change the model to Kling 3.0 Omni.
Upload the plain screenshot as the start frame and the generated image as the end frame.
Paste in the animation prompt and generate.
6️⃣ To track the text, go to Kling 3.0 Omni Edit.
Upload your full video, along with the plain screenshot and the generated image.
7️⃣ Paste in the tracking prompt and hit generate.
Voila!
You now have 3D tracking title cards with no VFX experience needed.
Like and follow for more!
@higgsfield.ai
#filmmaking #editing #videography #tutorial #higgsfield
845K
33.7K
22.1K
7mo ago
__diditee__
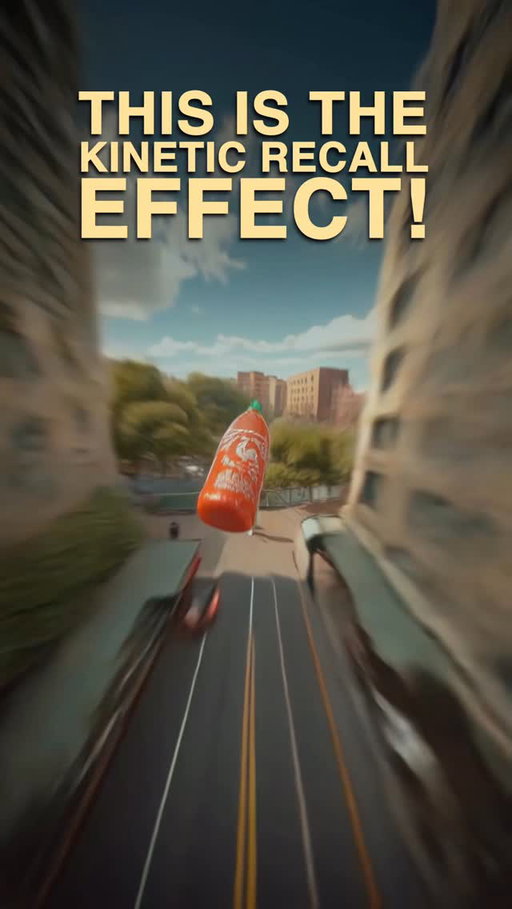
This is the Kinetic Recall Effect! 🔨💨
Comment the word “KLING” 🔥 to get all the prompts and FREE SFX!
Here’s how you do it 👇
1️⃣ Set your camera on a tripod and film your product.
Keep the shot clean and steady.
2️⃣ Film a second clip of you faking the catch.
3️⃣ In your gallery, screenshot the last frame of the product video.
Then screenshot the first frame of your catch clip.
4️⃣ Head to Higgsfield.ai.
Go to Create → Videos → Create Video.
Change the model to Kling 3.0.
5️⃣ Upload the product screenshot as the start frame.
Upload the catching screenshot as the end frame.
6️⃣ Paste in the prompt.
Comment “KLING” and I’ll send you everything you need.
7️⃣ Hit generate and download the AI clip.
8️⃣ Bring both original clips into your mobile editor.
Place the generated clip in between them.
Voila!
You’ve got a clean kinetic recall effect inspired by Thor’s hammer.
Like and follow for more!
@higgsfield.ai
#filmmaking #editing #videography #tutorial #higgsfield
816K
2.25K
66
6mo ago
__diditee__
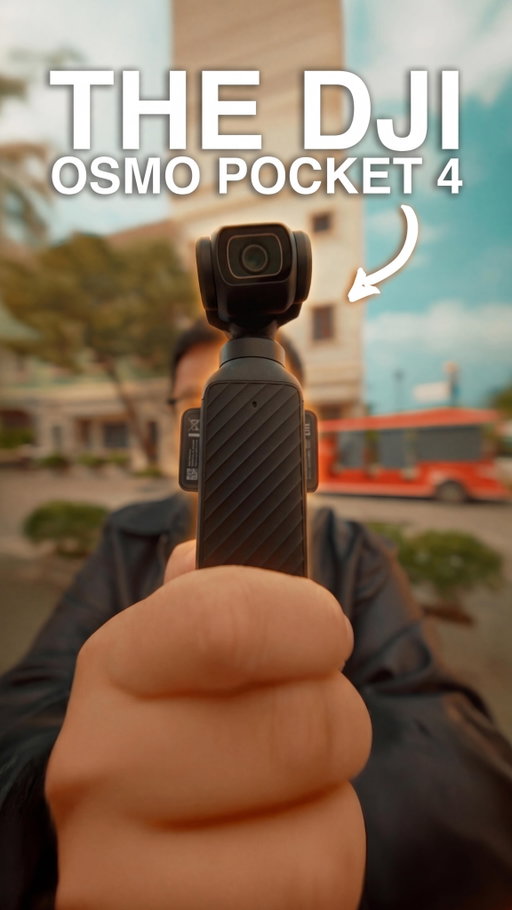
Shot this on the DJI Osmo Pocket 4 in Phu Quoc, Vietnam and this thing actually surprised me.
The new 1 inch sensor on this digital camera gives way better detail and dynamic range, especially shooting everything in full D Log!!! Yes, full.
The 2x lossless zoom on this video camera is also super useful for getting tighter shots without losing quality.
For something THIS small, getting cinematic video like this is kinda crazy.
Which feature is your favourite? Let me know 👇
#DJIPocket4 #videocamera #digitalcamera #CinematicVideo
702K
43.5K
2.73K
11mo ago
__diditee__
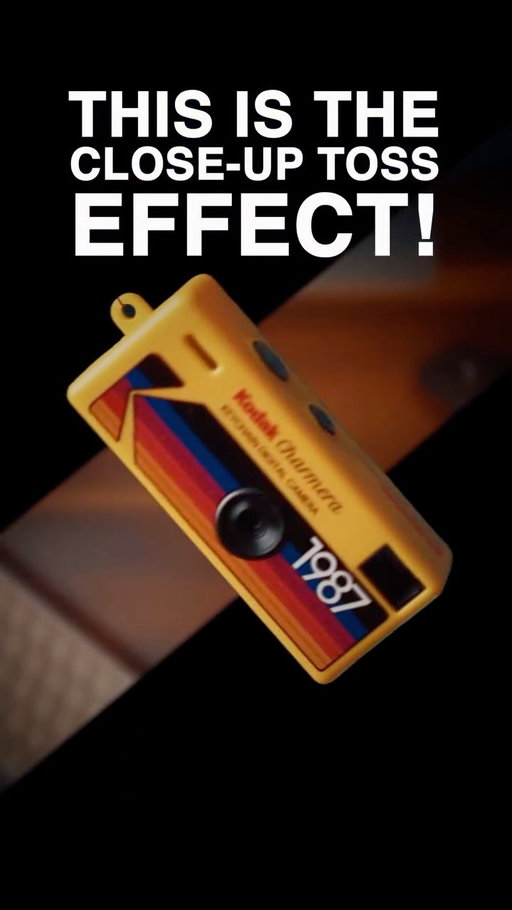
This is the “Close-up Toss” effect! And here’s the easiest way to do it in CapCut! ✨
1️⃣ Film yourself tossing nothing into the air.
2️⃣ Switch to 4K 120 fps and record your object spinning on a string.
3️⃣ Open CapCut, import your flick shot, then add the green-screen overlay (comment “Flick” to get it).
4️⃣ Tap Remove Background → Chroma Key → Select Green.
5️⃣ Add your spinning clip → Overlay → Speed → Curve → Custom — speed up the first point, slow the middle points, then hit Better Quality.
6️⃣ Add keyframes: start tiny on your hand → grow to fill the screen.
7️⃣ Go Effects → Video Effects → Blur — keyframe from 0 to 100 when the product enlarges for that smooth motion-blur finish.
That’s it! 🫡
Hey! I’m Declann, and in a world full of repetitive AI edits, I’m here to teach you how to make content that actually stands out! Hope you can follow along this journey! 🙏🏻
#filmmaking #editing #videography #tutorial #cinematography #camera #contentcreator #capcut
606K
28.4K
16.2K
1mo ago
__diditee__
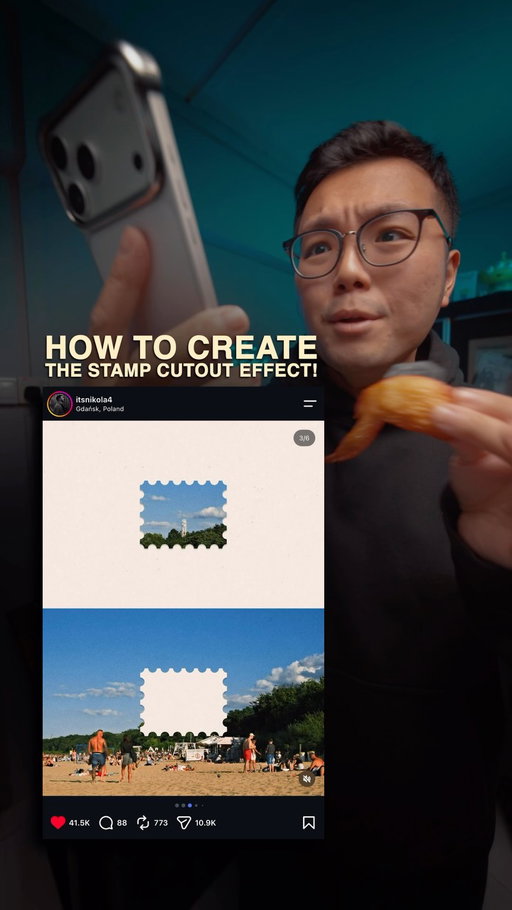
This is How To Create The Stamp Cutout Effect!
And here’s how you do it! ✂️
Comment the word “STAMP” 💌 to get the template for free.
1️⃣ Open Instagram Stories and tap Layout.
Change the grid and select the layout with 3 images.
2️⃣ Choose any photo you want and import the same image 3 times.
3️⃣ Head to your Photos app and open the stamp template.
Tap Share → Copy Photo.
4️⃣ Go back to Instagram Stories.
Add text and tap Paste to insert the template.
5️⃣ Resize and position the template so it perfectly covers the top two images.
6️⃣ Hit save and open the finished image in your gallery.
7️⃣ Simply crop away the bottom section.
Voila!
You get this viral stamp cutout effect!
Like and follow for more!
#filmmaking #editing #camera #tutorial #photography
473K
15.9K
12.3K
9mo ago
__diditee__
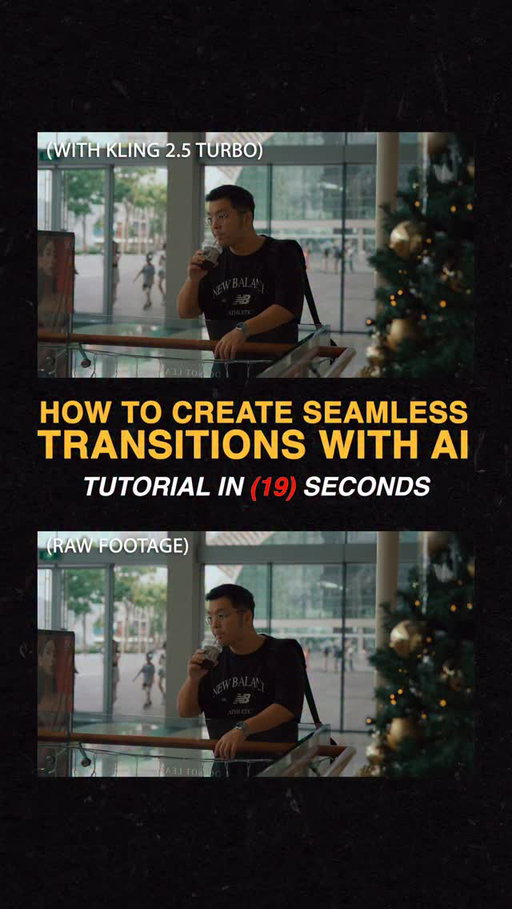
This is the Seamless Drone Transition Effect!
And here’s how you do it! 🚁
Comment the word “SEAMLESS” to get the prompt for free!! 😎
1️⃣ Set your camera on a tripod and film a few different shots.
I like mixing indoor and outdoor scenes for better transitions.
2️⃣ On your first clip, scroll to the very last frame.
Take a screenshot.
3️⃣ On your second clip, take a screenshot of the first frame.
4️⃣ Open Higgsfield AI.
Go to Create → Videos → Create Video → General.
In the model, search for Kling 2.5 Turbo.
5️⃣ Upload the last frame of your first clip.
This will transition into the first frame of your next shot.
6️⃣ Copy and paste in the prompt.
Comment “SEAMLESS” and I’ll send it to you for free.
7️⃣ Hit generate.
Once it’s done, bring your first clip, AI clip, and second clip into CapCut.
Place the AI clip in between both shots.
8️⃣ To create the next transition, repeat the same steps.
Last frame of the current clip.
First frame of the next clip.
Run it through Higgsfield again.
Do this for all your shots and you’ll get this smooth cinematic result.
Like and follow for more! @higgsfield.ai
#filmmaking #editing #videography #tutorial #higgsfield
423K
13.6K
193
10mo ago
__diditee__
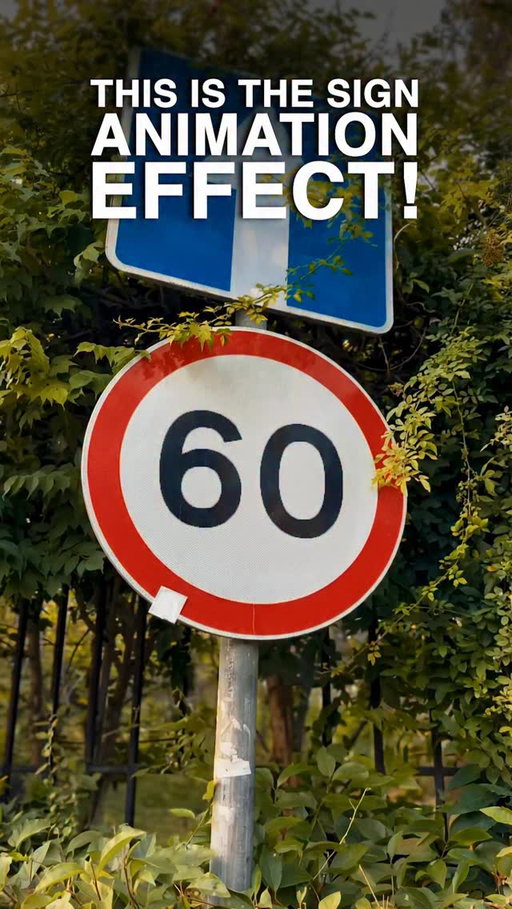
This is the Sign Animation Effect! And here’s how to do it in CapCut! 😎
COMMENT “SIGN” to get the SFX for FREEE! ❤️
1️⃣ Film an orbiting shot of your sign. (1X Camera)
2️⃣ Import into CapCut and freeze the first frame.
3️⃣ Duplicate it twice, set both duplicates as overlays, and place them below the first image.
4️⃣ On the top layer, use AI Remove to erase the numbers.
5️⃣ On the second layer, tap Remove Background → Custom Removal and brush over the first number. Then use Chroma Key on the whites to clean it out.
6️⃣ Repeat the same for the second number on the third layer.
7️⃣ Add keyframes at the start, middle, and end to animate the numbers sliding away and returning.
8️⃣ Open the Graph Editor and smooth the movement. I use Cubic In for a cleaner, more natural flow.
9️⃣ Export the whole sequence, bring it back into a new project, and finish it off with Motion Blur for that polished final look.
Voila! That’s how you get this really cool animation! Follow for more!
#filmmaking #editing #videography #tutorial #cinematography #camera #contentcreator
416K
901
19
10mo ago
__diditee__
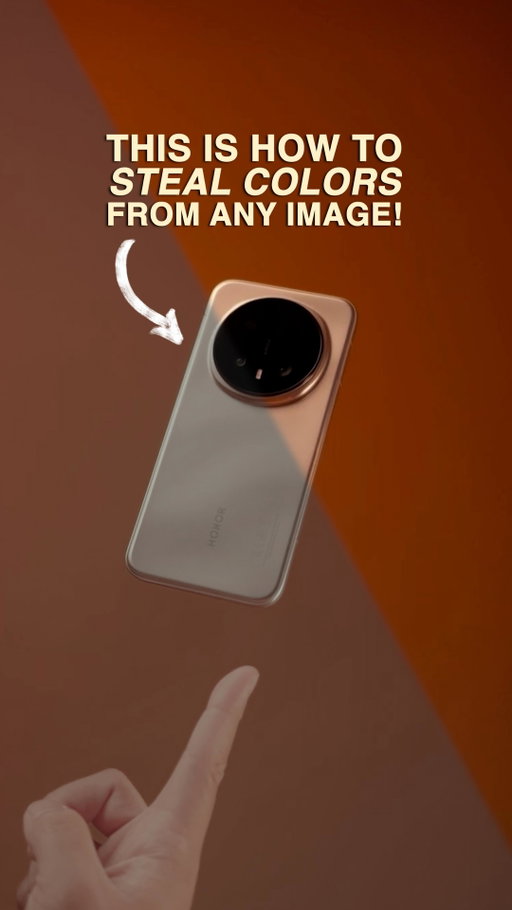
This is how you can STEAL colors from any photo. 🎨
This is the HONOR Magic8 Pro and it’s quite mind bending …. 🫣
Magic Color lets you drag in any picture and instantly turn it into a custom color filter, which is an industry’s FIRST! ✨
AI Outpainting expands your image to create a wider composition in seconds.
AI Remove Reflection cleans up glass, windows, and shiny surfaces with one tap.
AI Cut Out isolates your subject instantly! No manual masking needed.
And the zoom system?
The 10× zoom is super crisp, and the telephoto lens can push all the way to 50× while staying shockingly clear. (I mean just look at the shots I got!!!)
The HONOR Magic 8 Pro integrates AI in a way that’s actually useful for everyday creators… not gimmicky tricks, but REAL tools that make your shots better.
#HONOR #HONORMagic8Pro #ColorGrading #Photography #Editing #Tutorial
361K
13.8K
9.64K
9mo ago
__diditee__
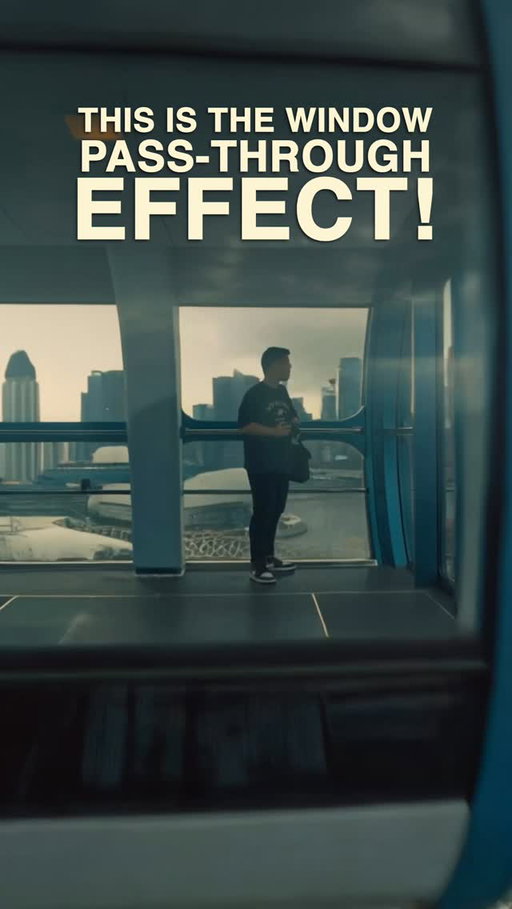
This is the Window Pass-through Effect! 🪟 and here’s how you do it!
Comment the word “GUIDE” to get all the prompts I tested!
Here’s how you do it 👇
1️⃣ Grab an establishing shot of a building or landmark
In my case I used a Ferris wheel and bought tickets to enter the Singapore Flyer
2️⃣ Get a shot of you near a door or looking out a window
3️⃣ Screenshot the last frame of your outdoor shot
4️⃣ Screenshot the first frame of your indoor shot
5️⃣ Open Higgsfield
Go to Create → Videos → Create Video → General
In the model search for Kling 2.5 Turbo
6️⃣ Copy and paste in the prompt
Hit generate and download the AI clip once it’s done
7️⃣ In your mobile editor place the AI clip between both shots
It should seamlessly transition from outside to inside
Like and follow for more ✌️
@higgsfield.ai
#filmmaking #editing #videography #tutorial #higgsfield
351K
12.9K
7.37K
8mo ago
__diditee__
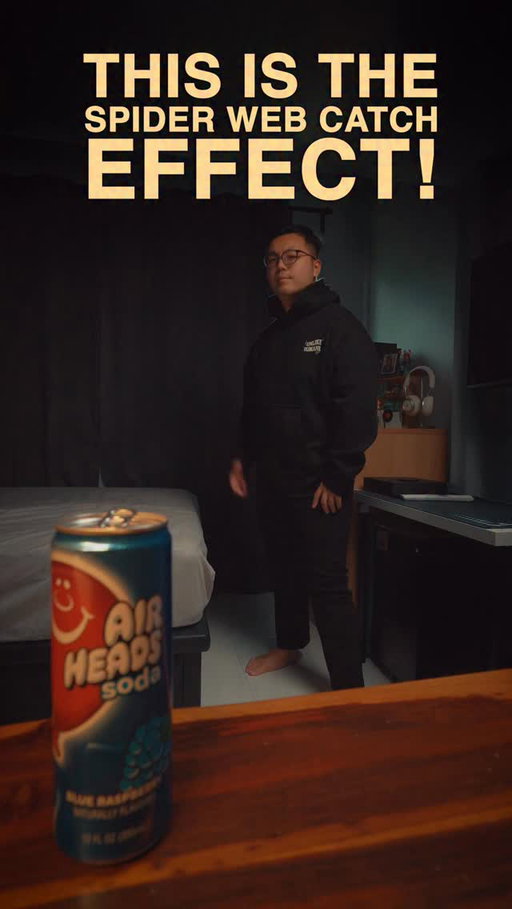
This is the Spider Web Catch Effect!
And here’s how you do it! 🕷️
Comment the word “SPIDEY” 🕸️ to get all the prompts and web sound effects
1️⃣ Start recording and perform the web launch action.
Pause for a second, then move forward to grab the product.
Try to keep your hand position as consistent as possible.
2️⃣ Bring the clip into CapCut.
At the web launch, hit split.
When you catch the item, hit split again.
Delete the middle portion.
3️⃣ At the cut point, take a screenshot of your hand before the catch.
Then take another screenshot of the first frame after you’ve caught the item.
4️⃣ Head to Higgsfield.ai.
Go to Create → Videos → Create Video.
Change the model to Kling 3.0.
5️⃣ Upload the first screenshot as the start frame.
Upload the second screenshot as the end frame.
6️⃣ Paste in the prompt.
Comment “SPIDEY” and I’ll send you the full prompt list and sound effects.
7️⃣ Hit generate and download the AI clip.
8️⃣ Bring the AI clip back into CapCut.
Place it between both shots and increase the speed slightly so the animation feels snappy.
Voila!
You’ve got a clean spider-web catch!
Like and follow for more! 🫡
@higgsfield.ai
#filmmaking #editing #videography #tutorial #higgsfield
338K
7.92K
7.79K
1mo ago
__diditee__
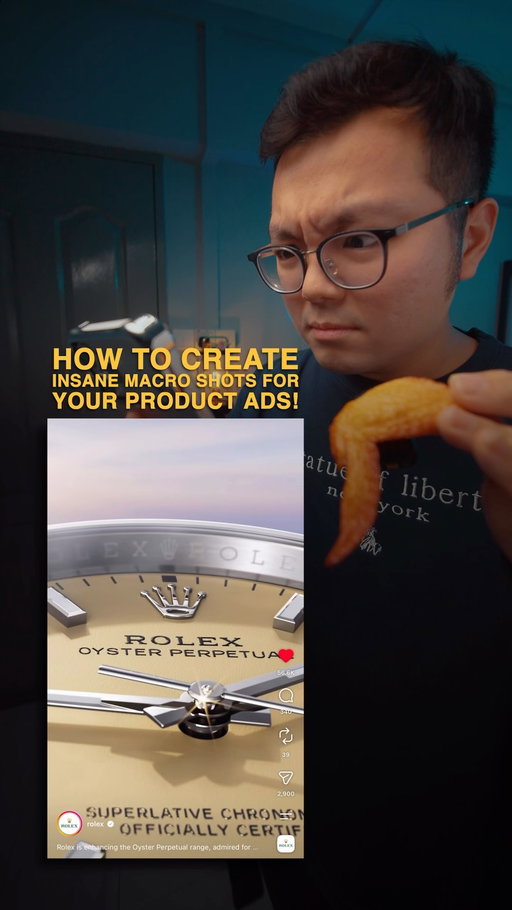
This is How To Create Insane Macro Shots For Any Product!
And you can literally do this on your phone! ⌚
Comment the word “AD” 🎬 and I’ll send you the full guide with all the prompts and shot styles.
1️⃣ Take as many photos of your product as possible.
Cover every angle in bright lighting so you don’t leave out any important details.
2️⃣ Head to Higgsfield.ai → Create → Images → Nano Banana Pro.
Upload all of your product images.
3️⃣ Choose an angle or shot style from my guide and paste in the prompt.
Or just get creative and describe exactly what you want.
4️⃣ Hit generate and voila!
You get these incredibly detailed, high resolution product shots.
5️⃣ From here, you can stop and use these images for your brand, social media, or entire campaigns.
Or you can take it further and animate them.
6️⃣ For my watch, I wanted a super close macro sweeping animation.
Open Seedance 2.0, upload your generated image and describe the camera movement you want.
7️⃣ Hit generate and boom!
You now have a high quality animated product ad ready for social media.
The best part is how accurately it maintains all the tiny product details.
Every bend, curve, text and reflection. It’s actually kinda mindblowing.
8️⃣ And if you’re really lazy like me, go to Create → Videos → Marketing Studio and simply choose a template you like.
Comment “AD” and I’ll send you everything you need to know!
Like and follow for more!
#Higgsfieldpartner #HiggsfieldCreator #Editing #Videography
331K
16.9K
1.43K
11mo ago
__diditee__
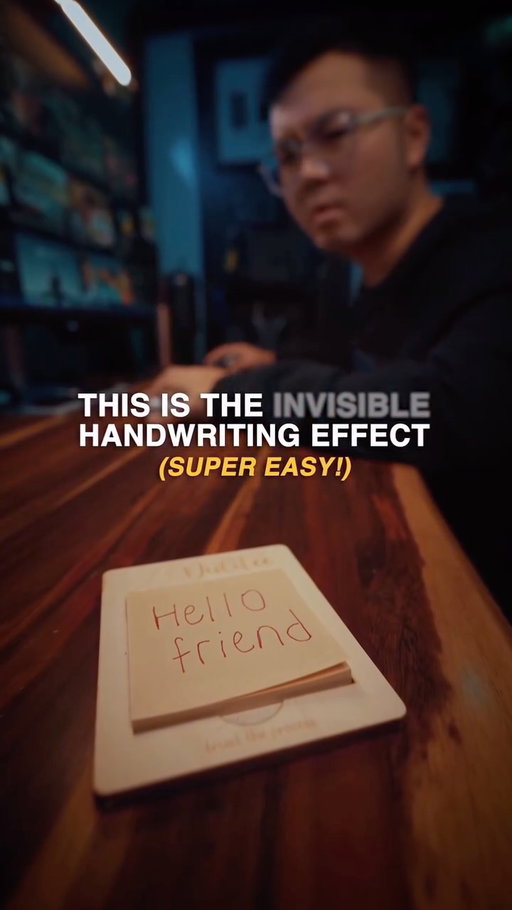
As it’s currently Harry Potter season, here’s a fun INVISIBLE handwriting effect you can try out for yourself!! ✍️✨
This effect looks like magic but you don’t need any animation skills!
1️⃣ Take a photo of your post-it note with the words already written.
2️⃣ Open Procreate and import that photo. Turn on screen recording and make sure not to move the canvas.
3️⃣ Use the color picker tool and start drawing over your words from the last letter to the first. You’re basically writing in reverse.
4️⃣ Go to your Photos app, crop the video, then import it into CapCut.
5️⃣ Tap Reverse and export and voila, your invisible handwriting reveal is done!
🎧 To make it feel extra real, add a little sound effect!
Comment “FRIEND” and I’ll send you the exact sound I used for free!
#filmmaking #editing #procreate #capcut #contentcreator #tutorial #videoediting #cinematography #editing
Declann Drostan Tan | Content Creator (@__diditee__) Instagram Stats & Analytics
Declann Drostan Tan | Content Creator (@__diditee__) has 317K Instagram followers with a 3.77% engagement rate over the past 12 months. Across 131 posts, Declann Drostan Tan | Content Creator received 847K total likes and 30.1M impressions, averaging 6.46K likes per post. This page tracks Declann Drostan Tan | Content Creator's performance metrics, top content, and engagement trends — updated daily. To benchmark @__diditee__ against other accounts, use Socialpruf's Instagram competitor analysis tool.
Declann Drostan Tan | Content Creator (@__diditee__) Instagram Analytics FAQ
How many Instagram followers does Declann Drostan Tan | Content Creator have?+
Declann Drostan Tan | Content Creator (@__diditee__) has 317K Instagram followers as of October 2026.
What is Declann Drostan Tan | Content Creator's Instagram engagement rate?+
Declann Drostan Tan | Content Creator's Instagram engagement rate is 3.77% over the last 12 months, based on 131 posts.
How many likes does Declann Drostan Tan | Content Creator get on Instagram?+
Declann Drostan Tan | Content Creator received 847K total likes across 131 posts in the last 12 months, averaging 6.46K likes per post.
How many Instagram impressions does Declann Drostan Tan | Content Creator get?+
Declann Drostan Tan | Content Creator's Instagram content generated 30.1M total impressions over the last 12 months.
Can I compare Declann Drostan Tan | Content Creator with other Instagram accounts?+
Yes. Add @__diditee__ to a competitor set with Socialpruf's Instagram competitor analysis tool and benchmark it side by side with any other public accounts on views, engagement rate and follower growth, with history back to each account's first post.