NewGet @__diditee__'s full report

tiktok analytics
Similar Accounts:
tiktok analytics
Similar Accounts:
followers
44.4K
impressions
2.13M
likes
44.0K
comments
513
posts
31
engagement
2.09%
emv
$54.2K
Average per post
68.6K
Key Metrics
Impressions
monthly
Distributions
Content
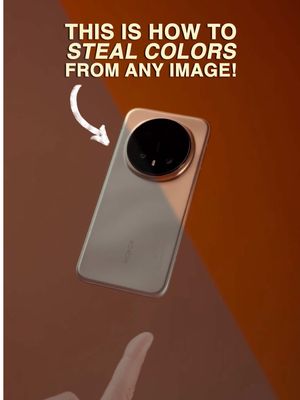
1.20M
2.91K
11
10mo ago

__diditee__
This is how you can STEAL colors from any photo. 🎨 This is the HONOR Magic8 Pro and it’s quite mind bending …. 🫣 Magic Color lets you drag in any picture and instantly turn it into a custom color filter, which is an industry’s FIRST! ✨ AI Outpainting expands your image to create a wider composition in seconds. AI Remove Reflection cleans up glass, windows, and shiny surfaces with one tap. AI Cut Out isolates your subject instantly! No manual masking needed. And the zoom system? The 10× zoom is super crisp, and the telephoto lens can push all the way to 50× while staying shockingly clear. (I mean just look at the shots I got!!!) The HONOR Magic 8 Pro integrates AI in a way that’s actually useful for everyday creators… not gimmicky tricks, but REAL tools that make your shots better. #HONOR #HONORMagic8Pro #ColorGrading #Photography #Editing
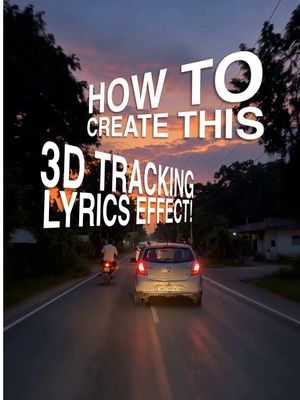
213K
7.72K
63
5mo ago
__diditee__
This is how to create the 3D tracking style lyrics like @asycreative (on Instagram) ❤️ This is such a cool effect and I’ve already seen a few tutorials online showing how to create it on CapCut. However they don’t usually look that good because you need to estimate the sizing perfectly. This effect was most likely done in after effects with camera tracking. But for the peeps who want to do it on their phone, this one is for you! 🫡 Stay creative! Like and follow if you’d like more tutorials like this. 🔥 #Tutorial #Editing #Contentcreator #Filmmaking #Viralhooks
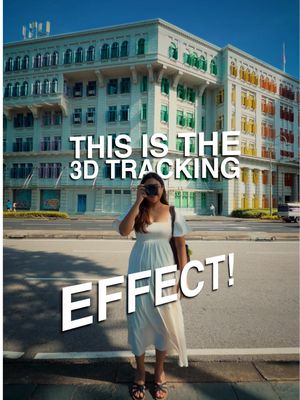
156K
7.00K
72
10mo ago
__diditee__
THIS IS THE 3D TRACKING EFFECT And here’s how to do it with just your phone! 🤯 This is a highly requested video…. Text being suspended in the air locked in position as the camera moves. Usually you’d need After Effects for this… but I think I’m the first to figure it out on mobile… so please leave a like!!! 🙏🏻🥹 1️⃣ Download Motion Ninja and open your shot in a new project. (Not sponsored) 2️⃣ Add your text → type whatever you want → tap Animation and pick any style you like. 3️⃣ Go back to the main page and extend your text so it covers the entire clip. 4️⃣ Tap your clip → Edit → Tracking → Better Mode → start the track and let it analyse. 5️⃣ You’ll now see a bunch of green tracking points. Tap one → Add Tracking Object → choose your text. 6️⃣ Adjust the size, then the position, and lastly the rotation. For that 3D feel, tweak the Y-axis! 7️⃣ Go back → create another text layer with its own animation. 8️⃣ Tap your clip again → Edit → on the tracking layer tap Edit once more → choose another point → Add Tracking Object. 9️⃣ Boom now you have your second tracked text. Just repeat it for all your texts and use motion blur in CapCut for a smoother effect! If you like more vids like this, a follow and like would be greatly appreciated ❤️ #filmmaking #videography #editing #tutorial #cinematography
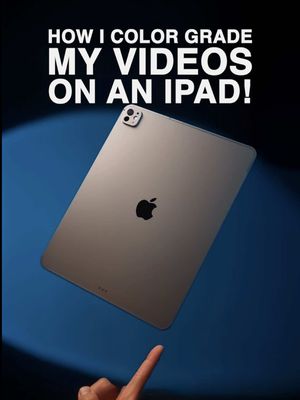
79.1K
4.49K
97
10mo ago
__diditee__
PRODUCT LINK IN BIO!! This is how I color grade using an iPad in Davinci Resolve! I’m using the Shift Keyboard Case by @ESR US with a built-in trackpad, and what I really like is that the keyboard is detachable, so you can either use it as just a case or a full “Laptop” style workflow Once I’m set up, I open DaVinci Resolve and start editing: 1️⃣ Import your footage → drag in your shots. 2️⃣ Head to the Color tab → PowerGrade → Import. 3️⃣ Correct the white balance on your first node. 4️⃣ In the Primaries node, use the multi-touch trackpad for all your fine-tuning 5️⃣ Create one more node and label it “Mask” ✏️ 6️⃣ Switch that Mask node into drawing mode and use the Apple Pencil to manually refine areas like the sky… it’s super precise and you have way more control. Then I sit back… rewatch everything… realise I hate the edit… and restart the whole thing again 😂 #ESRTech #ESR #ESRShiftKeyboardCase #Editing #tutorial
73.4K
3.96K
24
11mo ago
__diditee__
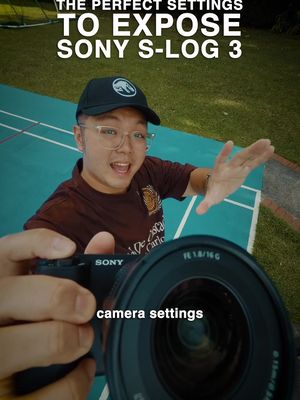
🎥 How to Nail Your Exposure in S-Log3 📸 Shoot in XAVC S 4K, S-Log3 / S-Gamut3.Cine, 100M 4:2:2 10-bit, and keep your shutter speed = 2× your frame rate. ☀️ When you open up your aperture and it gets too bright, that’s where the NiSi Jetmag Pro comes in! It’s a variable ND filter that also doubles as a circular polariser when you rotate both wheels. @NiSi Optics Global It’s basically sunglasses for your lens, letting you control exposure without touching ISO or shutter speed, for perfectly balanced cinematic color 🎬 #jetmagpro #nisijetmagpro #filmmaking #sony #camera
69.9K
6.36K
65
2w ago
__diditee__
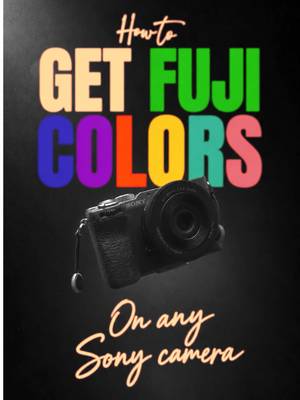
This is How To Get Fuji Colours On Any Sony Camera! 📸 And the best part is, this is all done in camera with no editing! I’m using the Sony A7C II, but this should work on most modern Sony cameras with Creative Look. 1️⃣ Set up your Function Menu Go to Menu → Setup → Operation Customize → Fn Menu Settings. Add these 3 settings: Creative Look White Balance Dynamic Range Optimiser Now you can quickly access everything using the Fn button. 2️⃣ Creative Look Go to Creative Look → IN and use: Contrast: -1 Highlights: -6 Shadows: -5 Fade: +1 Saturation: +4 Sharpness: 0 Sharpness Range: 1 Clarity: 0 You can also experiment with FL for moodier shots, or Neutral when shooting indoors. 3️⃣ White Balance Set your Color Temperature to 6000K. Then shift the WB grid: 6 clicks up 4 clicks right This gives the image that warmer yellow hue. These settings work best for daytime outdoor shots, so adjust accordingly for different lighting. 4️⃣ Dynamic Range Optimiser Set DRO to Level 3. Go lower for deeper shadows and more contrast, or higher for stronger shadow recovery. 5️⃣ Try cheaper lenses Super sharp, high-end lenses can sometimes look a little too clean. I like lenses from TTArtisan and Viltrox because their imperfections can add to that softer, vintage aesthetic. And that’s it! You can get warm, film-inspired Sony JPEGs straight out of camera with no editing. Like and follow for more! #sony #sonya7cii #photography #filmmaking #tutorial
62.3K
2.95K
38
12mo ago
__diditee__
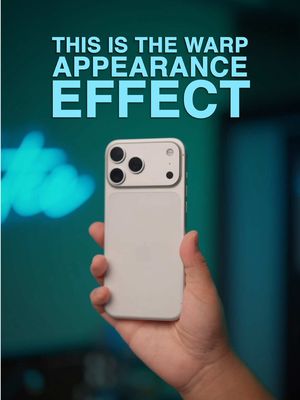
This is the Warp Appearance Effect Of course I’m sure he had a more advanced workflow for his phone case video but this is a really quick CapCut one you guys can try out!!! 1️⃣ Film yourself waving your hand left and right as if holding a phone. 2️⃣ Without moving position, insert the phone into your hand and repeat the same movement. 3️⃣ Import both clips into CapCut. 4️⃣ On the first clip, trim at the moment you want the phone to appear. 5️⃣ On the second clip, match the hand position as closely as possible, then trim everything before that point. 6️⃣ At the cut point, add the Flashback effect for extra impact. #filmmaking #editing #videography #tutorial #cinematography
48.9K
2.29K
11
11mo ago
__diditee__
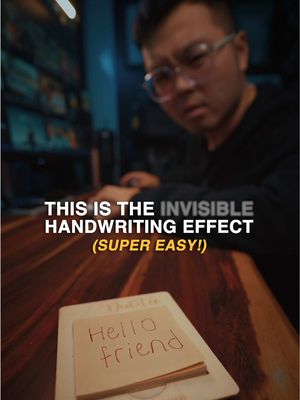
As it’s currently Harry Potter season, here’s a fun INVISIBLE handwriting effect you can try out for yourself!! ✍️✨ This effect looks like magic but you don’t need any animation skills! 1️⃣ Take a photo of your post-it note with the words already written. 2️⃣ Open Procreate and import that photo. Turn on screen recording and make sure not to move the canvas. 3️⃣ Use the color picker tool and start drawing over your words from the last letter to the first. You’re basically writing in reverse. 4️⃣ Go to your Photos app, crop the video, then import it into CapCut. 5️⃣ Tap Reverse and export and voila, your invisible handwriting reveal is done! #filmmaking #editing #procreate #capcut #contentcreator
41.5K
766
6
8mo ago
__diditee__
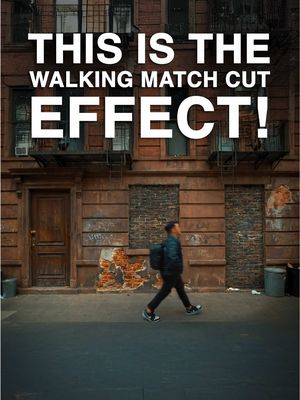
This is the Walking Match Cut Effect! And here’s how you do it! 🚶♂️ 1️⃣ Film a shot of you walking on the street in 1080p. Make sure the background isn’t too busy. 2️⃣ Download the Kling app and start a new project. Select Kling O1. 3️⃣ Upload your video and a photo of a different environment. In my case, I used New York. Kling will recreate the same motion in a new environment. 4️⃣ Repeat this step until you have 8 videos total. 5️⃣ Bring all the clips into CapCut. On every other clip, tap overlay and stack it below. 6️⃣ Scroll forward slightly and tap split. Scroll a bit more and split again. Do this for every clip. 7️⃣ Delete the beginning portion of each clip. You’ll create a descending stair shape so the videos appear one by one. Before this, I had to film multiple environments just to get different versions of the same shot. Now I can shoot one clean base clip and create way more variations with Kling! 💪 Like and follow for more! #KlingAl #KlingO1 #VideoNanoBanana #filmmaking #editing
38.8K
898
10
11mo ago
__diditee__
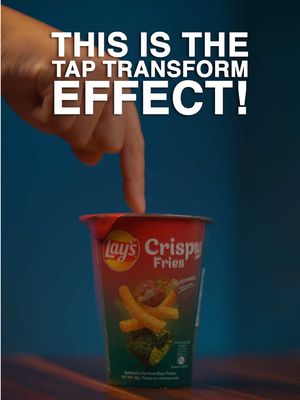
This is the Tap Transform Effect 🙌🏻 Here’s how you can do it 👇 1️⃣ Find a product with similar size but different color variations 2️⃣ Keep the camera still and grab a shot of each color 3️⃣ Record a clip of you tapping one of them 4️⃣ In CapCut import all your color shots and set the green and yellow ones as overlays 5️⃣ Add your tapping clip and remove background → custom → select hand 6️⃣ On the yellow clip go to the tap moment → mask → circle → invert → make it tiny then keyframe it to expand 7️⃣ Do the same for the green clip and adjust feathering for smooth transition And boom your color changes with every tap!! #filmmaking #editing #videography #tutorial #cinematography
15.2K
333
4
10mo ago
__diditee__
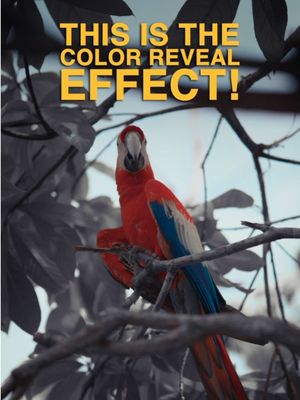
This is the Color Reveal Effect! And here’s how to do it in CapCut Mobile! 🎨🖌️ 1️⃣ Import your shot into CapCut Head to Adjust → HSL and bring the saturation of every color to 0 so your entire clip becomes black & white. 2️⃣ Go back to the main timeline Scrub to where you want your first color to appear, then Split. 3️⃣ On the new clip Go into Adjust → HSL and boost the saturation of your first color. 4️⃣ Move forward a little Split → go into HSL again → add your next color in (I did Red, Blue, Yellow, Green) 5️⃣ Repeat for all colors Go forward, cut a new portion, add another color in, go forward, cut another portion again, and add the next color in. Do this in sync with your music! Like and follow for more! ❤️ #filmmaking #editing #videography #tutorial #camera
13.4K
658
8
5mo ago
__diditee__
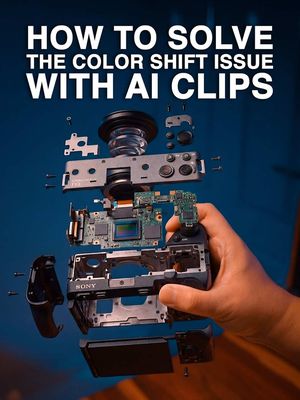
This is day 1 of using AI like a human 🧑 Ever wondered how to get rid of that ugly color shift when transitioning between real and AI clips? 1️⃣ Understand the problem There are 2 main causes: • Resolution change • Color inconsistency AI generates a completely new clip, not an extension of your original footage. That’s why it doesn’t match by default. 2️⃣ Fix your resolution Older outputs from Kling were capped at 1080p. Now with Higgsfield, you can render in 4K for cleaner consistency. 3️⃣ Match your colors Open CapCut and import both clips. Select the AI clip → Adjust → Color Match. Set your real clip as the reference. Apply and tweak intensity until it blends naturally. 4️⃣ Smooth the transition Add the “Mix” transition at the cut point. Set it to around 0.3 seconds. Now your transition blends instead of snapping. Bonus tip (if you don’t use CapCut) In Adobe Premiere Pro, use Comparison View. Set your real clip as the reference frame. Then go to Lumetri Color → Color Wheels & Match → Apply Match. This will automatically align your colors to the original footage. Hi there! My name is Declann Drostan Tan and I’m here to teach you how to utilise ai like a human instead of generating slop. If you like more content like this, consider giving me a follow! 🙏🏻 Intro inspired by @joelroac #Filmmaking #Ai #tutorial #editing
11.7K
455
10
10mo ago
__diditee__
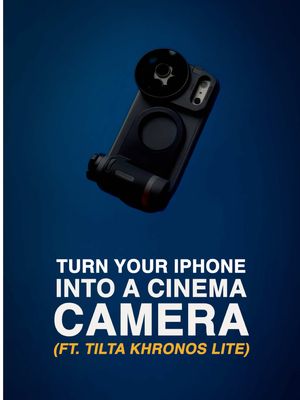
This is how you turn your iPhone into a cinema camera! 🎥📱 Free LUT + Product Link In Bio! I’m using the Tilta Khronos Lite for the iPhone 17 Pro Max (it’s also available for the Pro, Air, and regular iPhone 17 models). You can mount the handle directly to the case, or snap on the magnetic backplate so you can rotate it for both landscape and portrait shooting. Then snap on the filter tray and you instantly get full filter support. Rotate the front dial to manual focus your shots, or press the record button to start recording. Snap on ND filters to manage exposure outdoors, or a CPL to reduce reflections and glares. The CPL even has 1/2 stop of black mist diffusion, giving you that beautiful bloom in the highlights ✨ And the results? Check it out for yourself! @Tilta_Global @Tilta #Tilta #Khronos #Videography #Editing #iPhone
11.2K
252
4
10mo ago
__diditee__
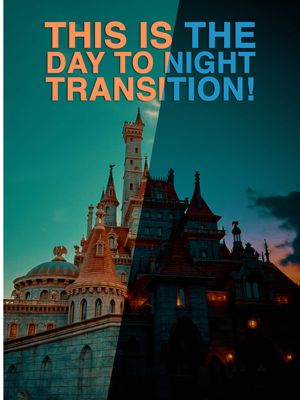
This is how to create a day to night transition using just your phone 🌙 1️⃣ Grab a photo of any building 🏙️ 2️⃣ Go to artlist.io → AI Video, upload your image 3️⃣ Paste this prompt ⬇️ ⭐ PROMPT : Create a smooth timelapse transformation of this exact scene. Keep the same camera angle and composition of the castle. Animate the sky with fast-moving clouds passing overhead to emphasize a high-speed timelapse. Start with bright daytime lighting and let the clouds race across the sky. Gradually transition into golden hour, sunset, blue hour, and then deep night. Animate the sunlight shifting, colors warming to orange and purple, and then fading to dark blue. As night falls, slowly bring in stars and a soft moon glow. Make the castle lanterns and windows turn on one by one. No movement of the castle or camera only the sky, clouds, and lighting changing in a natural timelapse progression. Show the passing of clouds in high speed. 4️⃣ Generate your clip and let it process 🙌🏻 Artlist is having their huge Holiday Sale right now, which means you can get 40% off their annual Al plans or 20% off the Max Pro annual plan, plus 2 extra months free. If you've been wanting to try their Al tools for video, images, or voiceovers, this is honestly the best time! #filmmaking #editing #videography #artlist #tutorial
10.7K
424
5
6mo ago
__diditee__
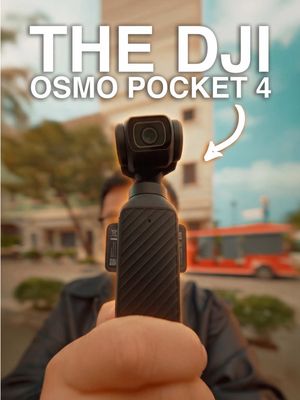
Shot this on the DJI Osmo Pocket 4 in Phu Quoc, Vietnam and this thing actually surprised me. The new 1 inch sensor on this digital camera gives way better detail and dynamic range, especially shooting everything in full D Log!!! Yes, full. The 2x optical zoom on this video camera is also super useful for getting tighter shots without losing quality. For something THIS small, getting cinematic video like this is kinda crazy. Which feature is your favourite? Let me know 👇 @DJI Singapore @DJI Official #DJIPocket4 #videocamera #digitalcamera #CinematicVideo
10.7K
219
5
11mo ago
__diditee__
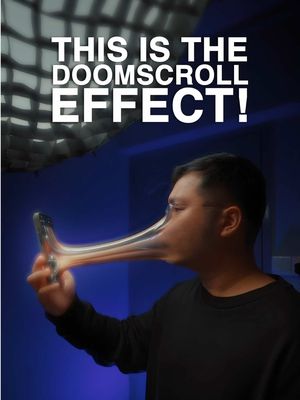
This is the Doomscroll Effect 👁️📱 And here’s how to do it with just your phone ⤵️ 1️⃣ Grab a photo of you holding your phone up to your face 2️⃣ Go to Artlist.io → AI Image & Video tab 3️⃣ Under Image → Image to Image, switch to the Nano Banana model and upload your photo 4️⃣ Paste in this prompt and screenshot it to save 5️⃣ Once your image is generated, tap Animate, then paste in the animation prompt I’ll show next 6️⃣ Hit Animate, wait for it to render and… BOOM! You’ve got the Doomscroll Effect These two prompts are what I personally use, but if you want 20 extra variations, comment “Artlist” and I’ll send you my free prompt guide. @Artlist.io #filmmaking #editing #artlist #videography #cinematography
8.71K
189
3
10mo ago
__diditee__
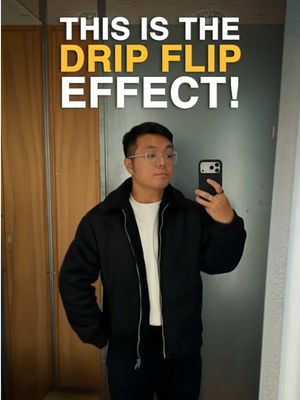
THIS IS THE DRIP FLIP EFFECT Here’s how to create it with InVideo AI. 1️⃣ Take 3 photos of yourself in the same spot, each with a different outfit. 2️⃣ Open InVideo AI using the app, your mobile browser, or a desktop browser. 3️⃣ Go to Agents & Models and select the Drip Flip template. 4️⃣ Start a new project and upload all your photos. 5️⃣ Click Next, let it generate, and you’ll get a smooth Drip Flip transformation. #filmmaking #editing #videography #invideo #tutorial
7.54K
172
3
11mo ago
__diditee__
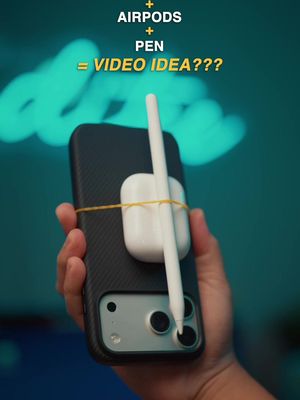
HOW TO GET THIS SHOT WITH JUST A PHONE 📱 Here’s a fun little hack you can try right now. Grab your iPhone and switch to the 0.5x lens. Strap your AirPods case and a pen (I used an Apple Pencil Pro) onto the back of your phone with a simple rubber band. The key is to move the entire unit with both hands to create that dynamic locked on perspective shot 🎥 Be careful when securing everything. If you need extra stability, use duct tape instead of a rubber band. Now slowly rotate or push the camera forward while keeping the motion smooth. Try it out and tag me in your results! #filmmaking #editing #videography #edit #tutorial

7.51K
202
3
5mo ago
__diditee__
This is How To Turn Any Product Into A High Quality Ad with Genspark! And here’s how you do it! 🎬 Check the LINK in bio for the prompts and link to the app! 🔗 1️⃣ Download Genspark AI. It’s an AI assistant that helps you create visuals without complex prompting. 2️⃣ Open the app → All Agents → AI Designer. Upload or take a photo of your product. 3️⃣ Paste in this prompt. Transform this product into ONE 9:16 cinematic advertisement. Place it floating in mid-air with dramatic lighting. Add surrounding elements relevant to the product. Keep it clean and premium. 4️⃣ Get creative with your idea. The better your concept, the better the result. 5️⃣ Hit generate. It researches references in real time and builds a polished ad for you. 6️⃣ Download the result or open it in a new chat. Click on Edit Image, select a point, and type: Add in the text “THE COFFEE MUG” 7️⃣ To take it further, upload your original image and the AI version. Ask it to animate between the two for a cinematic transition. Voila! You now have a premium product ad created with AI. I’ve been playing around with Genspark quite a bit lately and it’s actually crazy how fast it’s growing. Apparently it’s already hit $250M ARR in just 12 months. Also worth checking out their Claw feature. It can handle full workflows for you like an actual assistant. New users get free credits too so you can just try everything out. Try Genspark with free credits here: https://www.genspark.ai/?utm_source=ig&utm_campaign=__diditee__3001 Like and follow for more! @Genspark.ai #Genspark #WorkwithGenspark #AIvideo #ContentCreation #VideoEditing
7.00K
237
7
5mo ago
__diditee__
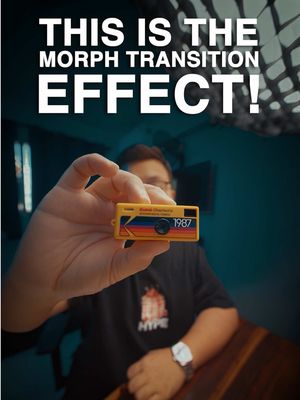
This is the Morph Transition Effect! And here’s how you do it! 🔄 Instories link is in my bio! 1️⃣ Grab a shot of you holding your first product. Switch to another product and match the position as closely as possible. Repeat until you have 4 images. 2️⃣ Open Instories. Go to AI Trends → Generate Video. Set the model to Kling 2.5. 3️⃣ Upload your first and second product images. 4️⃣ Paste in the prompt. Comment “MORPH” and I’ll send you everything you need. 5️⃣ Hit generate to get your first transition. 6️⃣ Repeat the process. Second + third image. Then third + fourth image. 7️⃣ You should now have 3 transitions. 8️⃣ Go to Create → Reel. Select Media → AI Generations. Upload all your transitions in the correct order. 9️⃣ They’ll automatically blend into one seamless morph. Export the clip. Voila! You get a clean morph transition using just one app. If you’re lazy, Instories also has built-in templates like the product pop out effect. It’s basically an all-in-one app for solo creators. Like and follow for more! #filmmaking #editing #videography #tutorial #instories
Declann Drostan Tan (@__diditee__) TikTok Stats & Analytics
Declann Drostan Tan (@__diditee__) has 44.4K TikTok followers with a 2.09% engagement rate over the past 12 months. Across 31.0 videos, Declann Drostan Tan received 44.0K total likes and 2.13M views, averaging 1.42K likes per video. This page tracks Declann Drostan Tan's performance metrics, top content, and engagement trends — updated daily. To benchmark @__diditee__ against other accounts, use Socialpruf's TikTok competitor analysis tool.
Declann Drostan Tan (@__diditee__) TikTok Analytics FAQ
How many TikTok followers does Declann Drostan Tan have?+
Declann Drostan Tan (@__diditee__) has 44.4K TikTok followers as of October 2026.
What is Declann Drostan Tan's TikTok engagement rate?+
Declann Drostan Tan's TikTok engagement rate is 2.09% over the last 12 months, based on 31.0 videos.
How many likes does Declann Drostan Tan get on TikTok?+
Declann Drostan Tan received 44.0K total likes across 31.0 videos in the last 12 months, averaging 1.42K likes per video.
How many TikTok views does Declann Drostan Tan get?+
Declann Drostan Tan's TikTok content generated 2.13M total views over the last 12 months.
Can I compare Declann Drostan Tan with other TikTok accounts?+
Yes. Add @__diditee__ to a competitor set with Socialpruf's TikTok competitor analysis tool and benchmark it side by side with any other public accounts on views, engagement rate and follower growth, with history back to each account's first post.