NewClaim a free social report


tiktok analytics
Similar Accounts:
tiktok analytics
Similar Accounts:
followers
2.79M
impressions
13.6M
likes
1.39M
comments
8.18K
posts
29
engagement
10.3%
emv
$629K
Average per post
468K
Key Metrics
Impressions
monthly
Distributions
Content
2.36M
242K
1.22K
8mo ago
chrisfixit
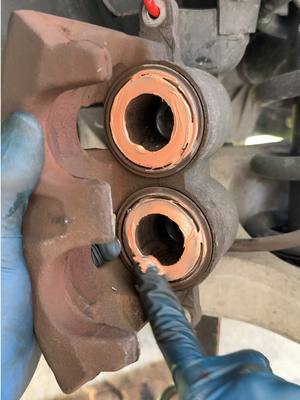
You’ve seen plenty of brake job videos from me so here are some tips for going the EXTRA mile to make the brake job absolutely perfect! Do you guys do anything else that I didn’t cover??? If so comment below! 1. Never hang brake calipers from the brake line. They aren’t designed for that kind of pulling force so it can damage them. 2. Always clean brake rotors when they are brand new because they have oils on them from the factory to prevent them from rusting. 3. Clean the caliper bracket where the brake hardware sits so there is less vibration which means less brake noise. 4. Clean your caliper guide pins and the holes in the caliper bracket which they fit into and lubricate them with new silicone lubricant. 5. Lubricate the ears of your brake pads and the brake caliper piston with ceramic brake lubricant to prevent brake noise. 6. Bleed/Flush old brake fluid out and get new brake fluid in because brake fluid is hygroscopic and absorbs water over time which makes it less effective. #ChrisFix #PermatexPartner #DIY

1.08M
145K
727
1mo ago
chrisfixit
Certified YouTube mechanics meet professional Mechanics on the streets… #ChrisFix @Jamie
1.00M
124K
361
5mo ago
chrisfixit
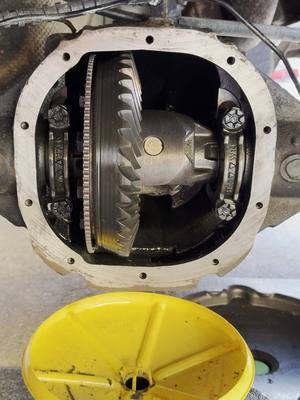
Learn how to properly replace your differential fluid yourself! This is something that should be done every 50k miles or 20k miles if you tow a lot. In this case I’m using a cut gasket, not RTV so I share some tips on using that. 1. Unscrew fill plug first so you know you can refill the diff after you drain it. 2. Remove the diff bolts and drain the diff. 3. Clean the old gasket off the diff cover and diff case. 4. Add gasket (if cut gasket use Permatex Cut Gasket Sealant. 5. Install diff cover with gasket. 6. Torque diff cover bolts in criss cross patten 7. Add gear oil until it spills out of the fill hole 8. Tighten fill plug so it’s snug #ChrisFix #PermatexPartner #Differential #DIY #Automotive
899K
112K
721
2mo ago
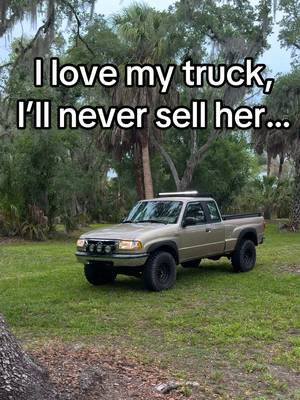
chrisfixit
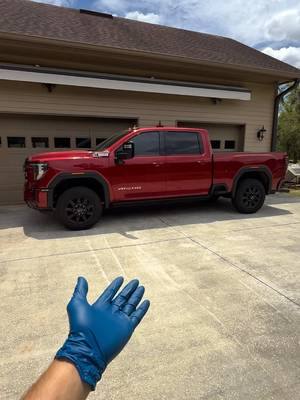
This is the first new vehicle I have ever bought. Usually I buy 20yr old $2000 pieces of junk with crank windows and no AC that need a lot for work so this is refreshing. This is my 2025 GMC 2500 with a 6.6l Duramax Diesel! This is the first job I’ve done, her very first oil change. I also did an oil analysis (results at end of video) and plan to do one every oil change to track what changes there are! And yes you can do your own maintenance and keep the warranty as long as you document it (receipts, mileage, and pics work perfect). Since she’s under warranty, I won’t be doing too much to her. She’s almost fully spec’d out with the AT4 package and I guess I have a thing for red card lol. I’ve only tinted her so far… im thinking of adding a tonneau cover, maybe a front off-road bumper with a winch, and some LED lights. Am I missing anything?

629K
55.4K
375
4mo ago
chrisfixit
I went to my very first ribbon cutting ceremony to celebrate the opening of Vevor’s first ever US location, their flagship store in Houston TX. We also had a last minute fan meet up and hundreds of fans came out on a Monday afternoon to show their support, get some free swag, and of course take some pics! It was really awesome meeting everyone and hearing all the stories about how the videos have helped and the different projects you guys are working on!!! Seeing the new store was pretty cool too. They have a huge tool section with a lot of automotive focus and it was all budget friendly. Then when I got home, my Vevor tire changer arrived so I set it up and now I can mount tires. Check out my TikTok showing the unboxing! Next I need a balancing machine and we will be good to go! Now it’s time to get the tires mounted so I can take the DriftStang drifting again! Thanks again to all the fans who came out to the event and it was really great meeting everyone. Some of you came from 5+hrs away and I truly appreciate the support you guys have and all the amazing energy you bring! #ChrisFix #VevorPartner #VEVOR #VEVORStore #vevorstoregrandopening

610K
38.0K
196
11mo ago
chrisfixit
How to paint your car wheels step by step. This easy DIY shows how to clean, sand, prime, spray paint, and clear coat your rims for a brand new look. Perfect budget car mod anyone can do at home! #ChrisFix #HowTo #CarMods #DIY #WheelPainting
606K
64.8K
378
5mo ago
chrisfixit
Here is EVERYTHING you should check on your car before a road trip so you don’t get stranded. 1. Check Fluids -windshield washer fluid -coolant level -brake fluid level -engine oil level and how many miles are on your oil -fill up with fuel the night before (use Shell Vpower NiTRO+ to clean fuel system) 2. Check Tires -Make sure you have at least 4/32in (3mm) of tread depth. Anything below 4/32 you should not be taking on a road trip. -Check tire pressure (door jam sticker for proper pressure) -CHECK SPARE TIRE (pressure and jack) 3. Check Wiper Blades -Are they cracked or ripped -Do they skip or leave streaks 4. Battery -Make sure connections are clean and tight -Load test the battery to check health 5. Check Lights -Headlights and high beams -Tail lights and brake lights -License plate lights -Turn signals 6. EMERGENCY SUPPPLIES -Tire plug kit -Tire inflator -Jumper pack or jumper cables -Flashlight -Small tool kit -First aid kit -Paper towels -phone charger and charging cables These are some really quick things to check and the basics that will keep your car safe on the road for your road trip. It is definitely worth checking before you leave. #ChrisFix #ShellPartner
570K
76.9K
518
2mo ago
chrisfixit
This is my first ever new vehicle purchase! #ChrisFix #Diesel @GMC
546K
38.4K
213
12mo ago
chrisfixit
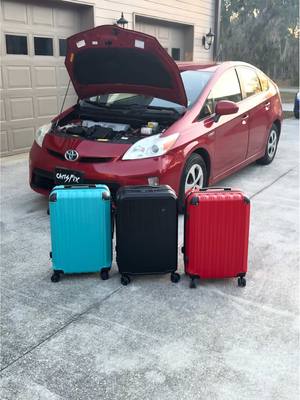
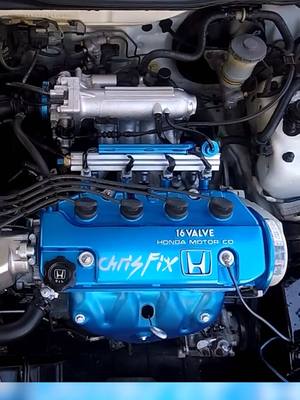
Learn how to paint your engine parts like a valve cover so it comes out amazing! Painting is all about preperation. Spend time sanding, cleaning and overall prepping the valve cover and it will come out amazing. I also show you how to make the stock Honda logo pop by bringing it down to bare metal and clear coating over it. And I show you how to put your own logo or decal on the valve cover to give it a custom touch. #ChrisFix #automotive
538K
28.3K
112
8mo ago
chrisfixit
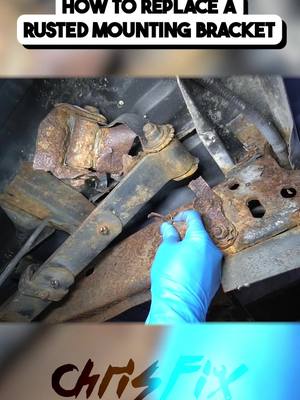
Learn how to remove rusted and rounded fasteners! If your car or truck has rust from winter road salt, it may have affected your fasteners! Here is a way to remove rusted fasteners quick and easy! Step one: spray penetrating fluid on the fasteners. Step two: grab an extractor socket and hammer it on to the rounded fastener. Step three: break the fastener loose using a ratchet or impact. Step four: thank yourself for buying extractor sockets because this took 5 minutes instead of hours!! Step five: sand and paint all rusted metal surfaces to help prevent future rust. #ChrisFix

505K
65.0K
383
4mo ago
chrisfixit
Luckily Stephen at Renn Haus is a pro and had this figured out in no time! My brain kept saying, bad transfer case control unit or a bad transfer case because they are known problems on Maseratis. I even tested the large positive and negative on the transfer case control unit wiring harness, which came back fine, but what I failed to test is the smaller trigger wire next to the canbus wiring which Stephen found to be bad! The cool part about all of this is Stephen walked me through the diagnosis so I learned a lot and added a new tool use to my arsenal of knowledge! Thanks a lot for helping me get my dad’s car 100%! #ChrisFix
489K
50.2K
184
5mo ago
chrisfixit
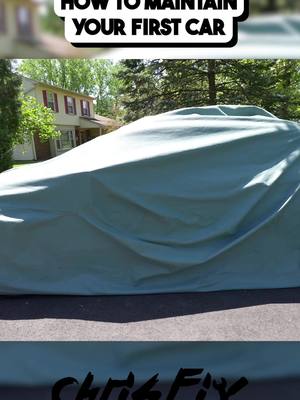
Learn how to maintain your car to keep it running forever! I ended up donating this car to Building Homes for Heros and we gave the car to a very deserving family who needed it badly! #ChrisFix
476K
71.7K
279
4mo ago
chrisfixit
There are a few things every car guy wants in his garage… a lift is one of them and a tire machine is another! All I need now is a wheel balancer. I was asked by Vevor to be a part of their ribbon cutting ceremony to celebrate the opening of their first ever store in Houston TX. We also had a last minute fan meet up and hundreds of fans came out on a Monday afternoon to show their support, get some free swag, and of course take some pics! And as a thank you, I was able to order this tire machine. This is going to help tremendously! Now I can get the tires for the DriftStang mounted and balanced as well as the budget super car, barn find, and Del Sol to name a few! I’ll be putting this thing to use so stay tuned! #ChrisFix @VEVOR Store
398K
26.3K
160
11mo ago
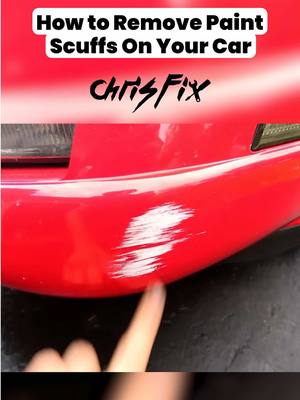
chrisfixit
If someone hits your car or you scrape against a painted surface, here is how to remove the damage. Paint transfer is exactly as it sounds, the paint from another object transfers to the surface of your car. This is really easy to remove at home using common products. If you have acetone it is even easier to remove but make sure you don’t get it on any plastic because it will damage the plastic. #ChrisFix #auto
318K
31.2K
119
5mo ago
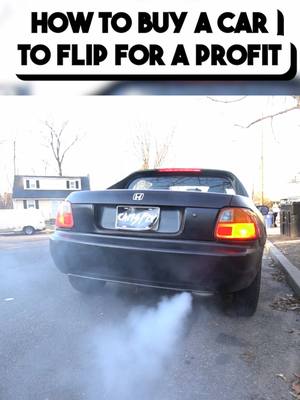
chrisfixit
Learn how to buy a car to flip for profit the right way! Here are some examples of flips I’ve done in the past and the amount of profit for each one! #ChrisFix
314K
20.8K
164
11mo ago
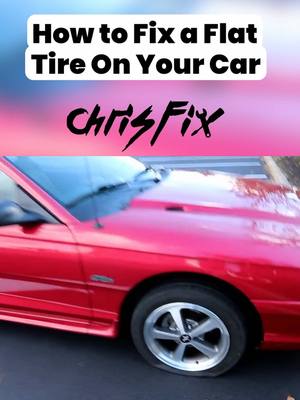
chrisfixit
Got a flat tire? In this video I show you step-by-step how to safely jack up your car, remove the wheel, plug the hole in the tire, and get back on the road fast. Perfect for anyone stuck with a flat tire! #ChrisFix #FlatTire #CarDIY #TireRepair #HowTo

310K
37.8K
289
11mo ago
chrisfixit
Anyone else? I can’t sleep until my car is fixed… most of my cars are broken 😂 #ChrisFix
292K
19.8K
157
11mo ago
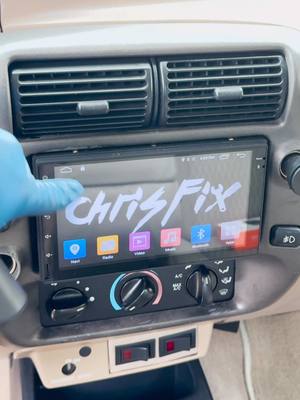
chrisfixit
Learn how to install a rear camera for your dash camera or as a reverse camera for your head unit. Installing a rear camera is simple. First mount the rear camera on the back bumper where there is a good view. Next run the wire with the factory wire harness, using a zip tie every foot or so and stay away from any moving suspension parts and the exhaust. Next find a pass-thru that goes into the cabin so you don’t have to drill any holes and run the wire up under the carpet, along the A pillar, along the headliner, to the dash camera. Finally go for a test drive and make sure everything works! #ChrisFix @Vantrue Dash Cam #DashCam
291K
34.1K
620
3mo ago
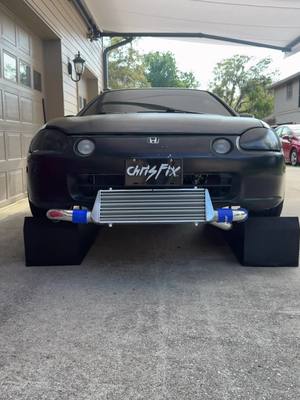
chrisfixit
New YouTube video out very soon! The next couple months are going to be 🔥 #ChrisFix #TurboDelSol
284K
38.8K
256
1mo ago
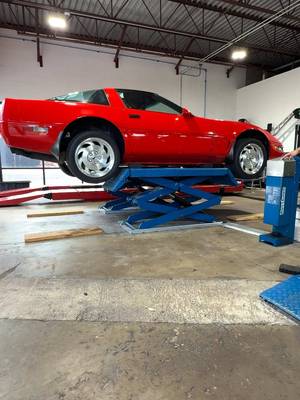
chrisfixit
Don’t get ripped-off! Check your tire date code even for “new” tires before you get them installed!!! Tire wear is not the only reason you may need to replace your tires, the age of the tire is just as important! Not too long ago I purchased 4 tires from a tire store (which will not be named) without realizing they were really old and the store wouldn’t do anything about it, so don’t let this happen to you. It’s important to understand how to read the age of your tires and check them to stay safe on the road. A lot of people also forget to check their spare tire! It can be out of sight, therefore out of mind on your vehicle, but if it’s too old, or flat, it’s not going to do you any good when you need it in an emergency! To fix my problem I got brand new tires shipped from @Tire Rack which is a reputable tire store and their tires are actually new… Now I can get back to dailying the Corvette again! #ChrisFix #TireRack
ChrisFix (@chrisfixit) Tiktok Stats & Analytics
ChrisFix (@chrisfixit) has 2.79M Tiktok followers with a 10.29% engagement rate over the past 12 months. Across 29.0 videos, ChrisFix received 1.39M total likes and 13.6M views, averaging 47.9K likes per video. This page tracks ChrisFix's performance metrics, top content, and engagement trends — updated daily.
ChrisFix (@chrisfixit) Tiktok Analytics FAQ
How many TikTok followers does ChrisFix have?+
ChrisFix (@chrisfixit) has 2.79M TikTok followers as of July 2026.
What is ChrisFix's TikTok engagement rate?+
ChrisFix's TikTok engagement rate is 10.29% over the last 12 months, based on 29.0 videos.
How many likes does ChrisFix get on TikTok?+
ChrisFix received 1.39M total likes across 29.0 videos in the last 12 months, averaging 47.9K likes per video.
How many TikTok views does ChrisFix get?+
ChrisFix's TikTok content generated 13.6M total views over the last 12 months.